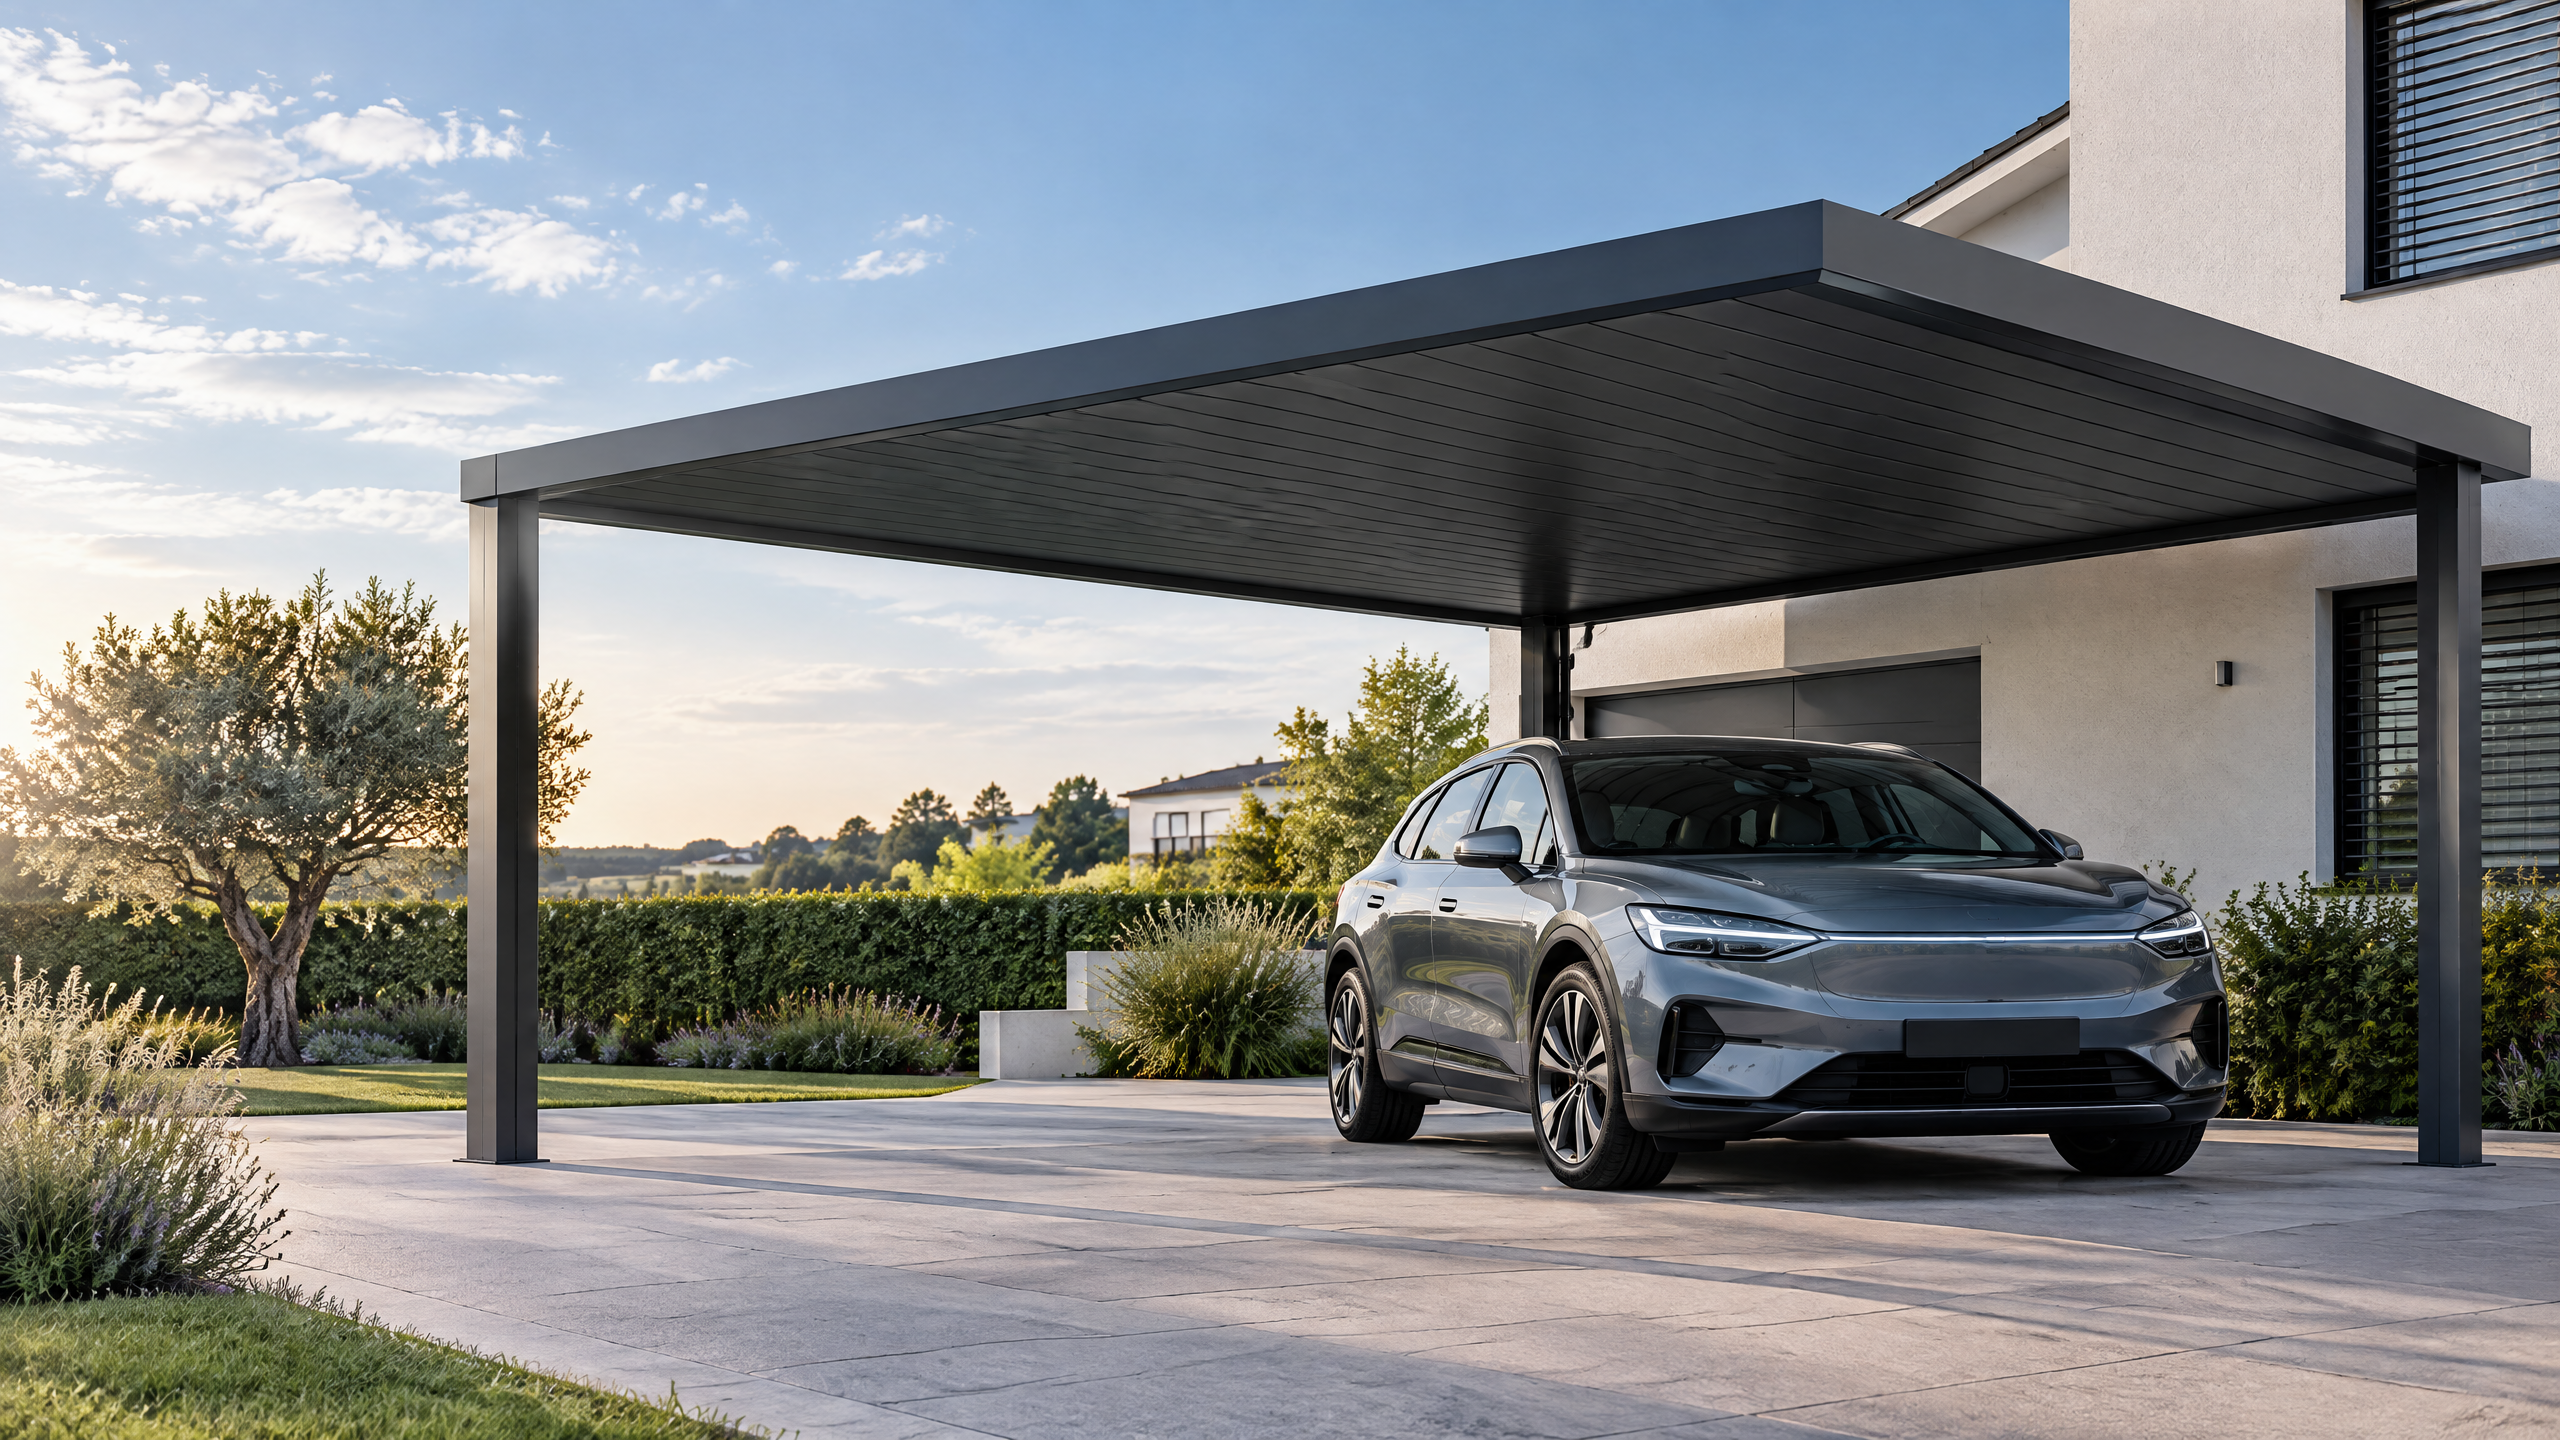
Direct answer (120–180 words) Choosing the optimal carport roof drainage downpipe location is a deliberate engineering and procurement decision that balances hydraulic performance, structural interfaces, operational maintenance and site constraints. Specify downpipe location from the outset as part of the documented site-specific design basis so the layout, foundation and anchorage interface and electrical routing can be coordinated with contractors, utilities and local authorities. Use climate exposure review (rainfall intensity, wind-driven rain, freeze cycles, snow load) and an assessment of existing stormwater infrastructure to size gutters and downpipes, set invert and discharge points, and define overflows. Require shop drawing coordination and factory submittals tied to performance criteria, and confirm the same with local engineering validation before purchase orders. Finally, make lifting and installation planning part of the procurement package so installation teams know anchor positions, routing and safe access, and maintenance teams can reach downpipes for debris clearing and inspection.
Buyer context and scope boundary
Who this guide is for
- Distributors, architects, general contractors, solar EPCs, developers, fleet operators and procurement teams specifying architectural aluminium carports, commercial solar carports and fleet shelters.
- Decision-makers who must convert a concept roof drainage requirement into contract-ready technical requirements and procurement documentation.
What this guide covers
- How to determine and specify carport roof drainage downpipe location including hydraulic, structural and installation implications.
- Interfaces with foundations, anchorage, PV arrays, electrical routing, site civil drainage and maintenance access.
- The procurement evidence, shop drawing coordination, and on-site behaviours that reduce risk.
What this guide does not cover
- Detailed local drainage code text or jurisdictional permit checklists (these require local authority input).
- Proprietary structural calculations for a specific site — these are the remit of the project structural engineer per a site-specific design basis.
- Detailed electrical engineering for PV exports or grid interconnections — coordinate with your electrical designer.
Essential boundary statement (mandatory) Site-specific structural capacity, foundations, permits, electrical design, approvals, lead time, price, energy yield and warranty require a documented project basis and the involvement of relevant local qualified professionals, installers, utilities and authorities before final procurement or installation decisions are made.
Core decision principle: place drainage to manage run-off, interfaces and lifecycle cost
Primary objective The principal aim when choosing a carport roof drainage downpipe location is to intercept roof runoff and convey it to approved discharge points in a way that avoids ponding, protects structural elements and enables predictable maintenance. Good decisions reduce operating cost, protect equipment (including PV modules), and limit civil works.
Trade-offs to manage
- Hydraulic efficiency vs. structural complexity: locating downpipes at a gutter low point minimizes length and improves flow, but may require additional columns or anchorage changes.
- Visual/operational preferences vs. discharge practicality: concealing downpipes in columns or soffits improves appearance but can complicate access for maintenance and repair.
- Upfront cost vs. long-term resilience: gravitational downpipes that feed existing public drains are cheaper; retention/detention (attenuation) devices reduce municipal connection costs but increase civil scope.
Primary technical drivers
- Site rainfall intensity and return period (affects sizing and overflow).
- Roof area and slope (affects gutter capacity and downpipe count/placement).
- Wind-driven rain and icing (impacts exposed components and gutter alignment).
- Foundation and anchorage interface with columns used to house downpipes.
- Maintenance access and safety for clearing debris or desludging.
This principle should be carried into every procurement document under the heading “carport roof drainage downpipe location”.
Planning inputs: what you must collect before specifying locations
Collect these documents and surveys early; they materially change optimal downpipe location.
Mandatory site data
- Topographic survey showing finished grades, invert levels and adjacent stormwater gullies.
- As-built utilities plan (storm, sewer, potable water, telecoms, electric).
- Soil report and geotechnical constraints affecting foundation type and depth.
- Local authority requirements for discharge rate, attenuation, or water quality treatment.
Environmental and climate inputs
- Local rainfall intensity-duration-frequency (IDF) data for design storm selection.
- Climate exposure review to capture wind-driven rain, salt spray, freeze-thaw and snow load patterns; use this to set gutter overhangs, downpipe materials and connection detailing. (Include “climate exposure review” explicitly in procurement documents.)
- Flood risk maps where relevant — consult national flood mapping such as FEMA in the US for floodplain constraints [4].
Design and system inputs
- Roof geometry, slope, segmentation and PV layout (string inverter placements, combiner boxes).
- Intended roof finish, gutter profile, and standard downpipe materials (aluminium, stainless steel, polymer).
- Access and maintenance intervals (frequency and equipment available for clearing gutters).
Regulatory and engineering inputs
- Applicable structural loading standards for wind and snow (Eurocodes [1] in many jurisdictions; ASCE 7 overview in North America [2]) to check uplift forces on gutters and potential loads on anchors.
- Local safety standards for work at height and lifting operations (OSHA construction regulations for the US or local equivalents) [3].
Stakeholders to involve
- Structural engineer for column loads and anchor design (explicit: local engineering validation must be obtained for structural decisions).
- Civil stormwater engineer for discharge, attenuation and local sewer inlet capacity.
- Electrical/solar engineer for PV module layout and cable routing (downpipes often share or interfere with column interiors used for conduit).
- Local authority/planner for permit limits on discharge location and water quality requirements.
Document control requirement
- All specification packages must reference the site-specific design basis and flag any items requiring confirmation by local engineers or authorities before procurement and installation.
Technical specification and interfaces
Overview The downpipe location decision is not a stand-alone choice — it defines multiple interfaces: structural (columns and anchors), hydraulic (gutter to discharge), electrical (cable routing and inverter access), and operational (inspection access, cleaning, and overflow routes).
Gutter and downpipe sizing basics
- Size gutters and downpipes to the roof catchment area and selected design storm using industry-standard methods; include rainfall intensity and allowable capacity for overflow.
- Provide minimum cross-sectional area and slope for gutters; specify downpipe diameters and velocities to keep debris moving without excessive erosion.
Materials and corrosion resistance
- Select materials based on climate exposure review. For marine or high-salt environments specify higher corrosion resistance (stainless or appropriately coated aluminium).
- Where PV modules or electrical equipment are nearby, choose non-conductive or electrically isolated connections to avoid stray currents and galvanic corrosion issues.
Downpipe location options and implications
- Column-integrated downpipes: route downpipes inside structural columns. Pros: clean appearance, protected routing. Cons: requires coordination at foundation and anchorage interface; complicates access and increases risk of trapped water if not detailed carefully.
- External downpipes to ground or pit: simpler structural requirements, easier access for maintenance, but increases visual exposure and requires space for downpipe runs and bends to reach storm connection.
- Routed to underground drainage: may require trenching, sump pits and tie-in with municipal systems; ensure invert levels allow gravity flow.
- Overflow and emergency discharge locations: always design overflow routes away from electrical or mechanical equipment.
Anchorage and foundation interface (must include phrase)
- The selected downpipe location must be reconciled with the foundation and anchorage interface. Column-integrated downpipes can change the column size or plate geometry and may require sleeves or inspection ports at base plates.
- Specify water-tight sealing at column bases if downpipes pass through anchor plates to avoid corrosion of anchors or infiltration into foundation zones.
Electrical, PV and conduit interfaces
- Downpipe routes must avoid clashes with PV cable trays, combiner boxes and inverter locations. Where columns double as cable risers, specify separate compartments or sleeves and an access strategy for both cable and drainage maintenance.
- If downpipes intersect with PV module mounting footprints, specify cutouts, flashings and water barriers to protect module frames and junction boxes.
Thermal and freeze considerations
- In climates with freeze cycles, specify slopes, heat tracing or accessible runouts to ground to prevent ice blockage. Specify materials that tolerate expansion cycles and design for accessible inspection.
Safety and maintenance access
- Provide safe access points: catwalks, ladders or safe working areas per local regulations. Maintain gutter fall and provide leaf guards or debris screens where appropriate.
- Follow local construction safety practice for work at height and lifting (OSHA [3] reference where applicable).
Standards and references
- Structural loading: consult Eurocodes [1] or ASCE 7 [2] for wind and snow loads that inform gutter anchorage and downpipe resistance.
- Flood and site risk: consult FEMA flood maps where applicable [4].
Procurement, factory evidence and shop coordination
What to require in procurement documents
- A clear clause that identifies “carport roof drainage downpipe location” as a critical design interface and requires shop drawing coordination.
- Deliverables list: shop drawings, BIM models, drainage calculations, material certificates, welding and coating specifications, factory-test reports and maintenance access diagrams.
Shop drawing coordination (explicit phrase)
- Require the contractor/supplier to provide detailed shop drawings for all gutters, downpipes, column penetrations and foundation plate details for review. Use the phrase “shop drawing coordination” in the specification and assign responsibility for clash resolution.
- Shop drawings should show gutter invert levels, downpipe centerlines, brackets, anchor positions, and each downpipe’s discharge point with invert elevation.
Factory evidence and QA
- Request material test certificates (e.g., alloy, coating thickness), welding procedures, and pre-assembly checks for gutter runs or integrated columns.
- Insist on factory assembly photos of critical junctions and pre-fit trials for integrated column-downpipe assemblies when possible.
Performance verification
- Require hydraulic calculation showing gutter capacity, downpipe sizing and overflow strategy under the chosen design storm (e.g., 10% AEP or other local standard).
- Require a pre-delivery inspection and checklist signed by the fabricator and a nominated project representative.
Procurement decision table — choose a procurement route
| Procurement route | Typical scope | Pros | Cons | Best used when |
|---|---|---|---|---|
| Integrated supply (carport + drainage pre-assembled) | Supplier provides full gutter/downpipe integrated with carport modules | Fewer interface claims, faster install, single supplier accountability | Higher single-source risk; requires detailed shop drawing coordination | Project has clear site data and single responsible supplier |
| Separate drainage subcontractor | Main supplier provides structure; drainage specialist supplies gutters and downpipes | Specialist skills, flexible materials | More interfaces to manage; potential for misalignment at foundation and anchorage interface | Complex civil tie-ins or municipal restrictions |
| Hybrid (standard gutters, site-installed downpipes) | Factory-fabricated gutters; downpipes fitted on site | Lower transport cost, easier handling | Requires precise on-site measurements and skilled installers | Remote sites or constrained transport |
Contractual clarity
- Include acceptance criteria and hold points: e.g., “no fabrication or shipment without approved shop drawings and signed foundation interface confirmation.”
- Make local engineering validation explicit: require that a local structural engineer review and sign off on all interface drawings that affect foundations or anchors.
Mid-article actionable CTA If you need coordinated system options and typical shop drawing templates for aluminium carport gutters and column-integrated downpipes, contact our team via /inquiry. You can review the Carportiva system range for standard profiles and check sourcing guides for supplier documentation best practice.
Site installation and operations
Pre-installation checks
- Confirm finished site levels and as-built utility positions before setting out column positions and downpipe discharge points.
- Verify foundations and anchor bolts match the approved shop drawings; document any discrepancies as RFIs.
Lifting and installation planning (explicit phrase)
- Include lifting and installation planning in the contract and method statements. Plan for safe lifting of gutter runs and columns, sequencing to avoid trapping water during partial installation and to avoid damage to PV modules.
- Lifting operations should follow local safety codes and be coordinated with other site activities (crane zones, live electrical work).
Foundation and anchorage interface (explicit phrase)
- Ensure the on-site team has the foundation and anchorage interface details: anchor bolt positions, sleeve locations for internal downpipes, and sealing/flashings to prevent water ingress.
- If downpipes pass through base plates, supply gaskets or sleeves and specify installation torque and grout requirements.
Phasing for PV installation
- If PV modules are to be fitted after or during gutter installation, confirm clearances for module frames, clamps and cable trays. Avoid routing cables where downpipes will require access.
Commissioning and handover
- Perform an acceptance test that includes a water test (controlled flow) to confirm gutters and downpipes perform as designed and there is no undesirable discharge onto walkways or equipment.
- Deliver an as-built package showing final downpipe locations, invert elevations, access arrangements and maintenance intervals.
Maintenance planning
- Provide a written maintenance schedule: debris removal frequency, inspection points for seals and flashings, downpipe unblocking protocol and where to get replacement parts.
- Plan for inspection after major storms, snow events or long-duration dry periods where debris might have accumulated.
Operational decision table — typical downpipe routing and maintenance implications
| Routing option | Typical maintenance need | Access complexity | Impact on equipment |
|---|---|---|---|
| Column-integrated internal downpipes | Periodic internal inspection, access ports required | Medium–High (requires column access) | Low visual impact; potential moisture risk if leak occurs |
| External downpipes to ground | Regular clearing of leaf guards; visual inspection | Low (easy to reach) | Higher visual exposure; easier to repair |
| Downpipe to sump/pump | Routine pump servicing, sediment removal | Medium (access to sump) | Useful where gravity discharge not possible |
Safety and compliance
- Installation teams must comply with local safe work practices for working at height, confined spaces (if routing through columns) and lifting operations (OSHA or local equivalent) [3].
- Secure sign-offs: require a local engineering validation for any deviations from shop drawings.
Implementation risk register and mitigations
Typical risks and mitigations associated with specifying downpipe location:
- Risk: Ponding on roof due to inadequate downpipe count or misplaced locations.
- Mitigation: Use hazard analysis and hydraulic modeling in the site-specific design basis; require factory-submitted hydraulic calcs and post-install water test.
- Risk: Structural clashes at foundation or anchor zone where integrated downpipes require sleeves.
- Mitigation: Early shop drawing coordination and verification of anchor bolt positions before concrete pour; include “foundation and anchorage interface” drawings as tender-critical.
- Risk: Blockage from leaves/debris leading to overflow onto equipment or PV array.
- Mitigation: Specify leaf guards, accessible downpipe inlets, and a documented maintenance schedule.
- Risk: Corrosion from salt or chemical exposure.
- Mitigation: Require climate exposure review and specify materials/coatings accordingly.
- Risk: Damage to electrical cables or PV components where downpipes share column space.
- Mitigation: Coordinate conduit and downpipe compartments; require separate sealed sleeves and accessible inspection points.
- Risk: Inadequate municipal capacity to accept discharge, or permit refusal.
- Mitigation: Early engagement with local authority, include civil engineer to model discharge and propose attenuation if required.
- Risk: Ice blockage in cold climates.
- Mitigation: Design fall and drainage routes to avoid low-temperature traps; consider heat tracing where unavoidable.
- Risk: Installation delays caused by missing shop drawings or mismatch with foundations.
- Mitigation: Contractual hold points for approved shop drawings and signed foundation confirmations; require suppliers to confirm anchor positions in writing.
Responsibility matrix recommendation
- Owner/Buyer: Provide site surveys, topography, and authority constraints; approve shop drawings.
- Structural Engineer: Provide local engineering validation for foundations and attachments.
- Supplier/Fabricator: Provide shop drawings, materials certification, factory QA, and lifting plans.
- Installer/Erector: Provide method statements, lifting and installation planning and execute per approved drawings.
- Civil/Stormwater Engineer: Confirm discharge, attenuation and permit strategies.
Named six-step buyer workflow (clear, actionable)
Step 1 — Project briefing & site survey
- Inputs: Project brief, topographic survey, as-built utilities.
- Outputs: Defined roof areas, planned discharge points, initial clash matrix.
- Responsibility: Buyer and surveyor.
Step 2 — Produce site-specific design basis & climate exposure review
- Inputs: IDF curves, flood maps, wind/snow data.
- Outputs: Documented site-specific design basis that states design storms, material exposures and required design life.
- Responsibility: Buyer and design engineer. (Include “site-specific design basis” and “climate exposure review”.)
Step 3 — Concept placement & structural check
- Inputs: Layout, PV plan, initial column locations.
- Outputs: Preferred downpipe locations with initial structural checks; identify foundation changes.
- Responsibility: Structural engineer with supplier input.
Step 4 — Shop drawing coordination and procurement
- Inputs: Approved concept, foundation coordinates.
- Outputs: Detailed shop drawings showing gutters, downpipes, column penetrations and anchor plates. (Include “shop drawing coordination”.)
- Responsibility: Supplier/fabricator and buyer review team.
Step 5 — Finalize foundation and anchorage interface & factory QA
- Inputs: Final shop drawings.
- Outputs: Foundation formwork marked, anchor bolt templates, factory test reports and material certificates. (Include “foundation and anchorage interface”.)
- Responsibility: Structural engineer, supplier, site contractor.
Step 6 — Lifting and installation planning, commissioning & local engineering validation
- Inputs: Fabricated units, method statements, crane plans.
- Outputs: Signed installation method statement, successful water test, commissioning report and formal local engineering validation.
- Responsibility: Installer, supplier, and local engineering validation sign-off.
Checklist for each step
- Each step must produce one signed document that confirms acceptance and release to the next step (e.g., approved shop drawings, foundation sign-off).
Frequently asked questions (FAQ)
Q: How many downpipes do I need for a given carport roof? A: The number depends on the roof catchment area, gutter sizing and the chosen design storm intensity. Perform hydraulic calculations using the site-specific design basis. The contractor should supply gutter capacity and downpipe sizing in shop drawings.
Q: Should downpipes be routed inside columns? A: Column-integrated downpipes are aesthetically clean and protected from impact, but they require the foundation and anchorage interface to be designed to accommodate sleeves and access. They also require coordination with electrical conduits if columns are used for cable routing.
Q: What if the municipal storm drain is lower than the carport invert? A: You will need either a pumped discharge, onsite attenuation/sump or a revised discharge point. Early civil engineering and local authority consultation are essential.
Q: How do I ensure maintenance access? A: Specify inspection ports, leaf guards, and safe access to gutter runs, and provide a maintenance schedule in the handover documentation.
Q: What is the effect of PV arrays on downpipe location? A: PV layouts change module spacing and frame locations, which influences where gutters and downpipes can be placed without shading or physical conflict. Include PV designers in shop drawing coordination.
Q: Who signs off the final drainage locations? A: A local structural/civil engineer should give formal local engineering validation for structural and drainage interfaces, while the authority having jurisdiction may need to sign off on discharge locations and permits.
Q: Where can I find Carportiva product profiles to match to my design? A: Review the Carportiva system range for profile options and consult all systems for standard configurations. For procurement documentation templates see sourcing guides.
Q: How often should gutters and downpipes be inspected? A: Inspection frequency depends on site conditions; a common baseline is twice yearly with additional inspections after severe storms. Sites with heavy leaf fall or coastal spray may need quarterly checks.
Conclusion and next steps
Summary Specifying the carport roof drainage downpipe location is a multi-disciplinary procurement and engineering decision. It should be embedded in the site-specific design basis, coordinated in shop drawings, and linked to foundation and anchorage interface details. Use a risk-based approach informed by a climate exposure review and secure local engineering validation for structural and drainage tie-ins. Include lifting and installation planning in procurement so on-site teams have the information they need to install and commission safely and without delay.
Final practical recommendations
- Make “carport roof drainage downpipe location” an explicit line item in the tender and contract documents.
- Require shop drawing coordination and factory QA hold points before concrete pours or shipments.
- Obtain local engineering validation for structural and drainage interfaces; involve civil/stormwater engineers early.
- Plan for maintenance and clearly document access and responsibility in the handover package.
Closing CTA For project-specific assistance, coordinated drawings and a review of typical detail options, contact our team at info@carportiva.com. Review the Carportiva system range and explore all systems and our sourcing guides to prepare procurement-ready documentation.
Important reminder Site-specific structural capacity, foundations, permits, electrical design, approvals, lead time, price, energy yield and warranty require a documented project basis and relevant local qualified professionals, installers, utilities and authorities before final procurement or installation decisions are made.
References and standards (selected)
- Eurocodes — common structural loading and design standards in many jurisdictions [1].
- ASCE 7 — structural loading overview typically used in North America [2].
- OSHA construction standards for safe work at height and lifting operations [3].
- FEMA flood maps for floodplain considerations where applicable [4].
References
- European Commission Eurocodes: https://eurocodes.jrc.ec.europa.eu/
- ASCE 7 structural loading standard overview: https://www.asce.org/publications-and-news/asce-7
- OSHA construction standards: https://www.osha.gov/laws-regs/regulations/standardnumber/1926
- FEMA flood maps: https://www.fema.gov/flood-maps
Keep the project brief connected.
Bring the actual project brief to the engineering table.
Share your location, layout, target application and available technical inputs. Carportiva can help identify the relevant product-interface information before a project-specific commercial discussion.
Request a project discussion