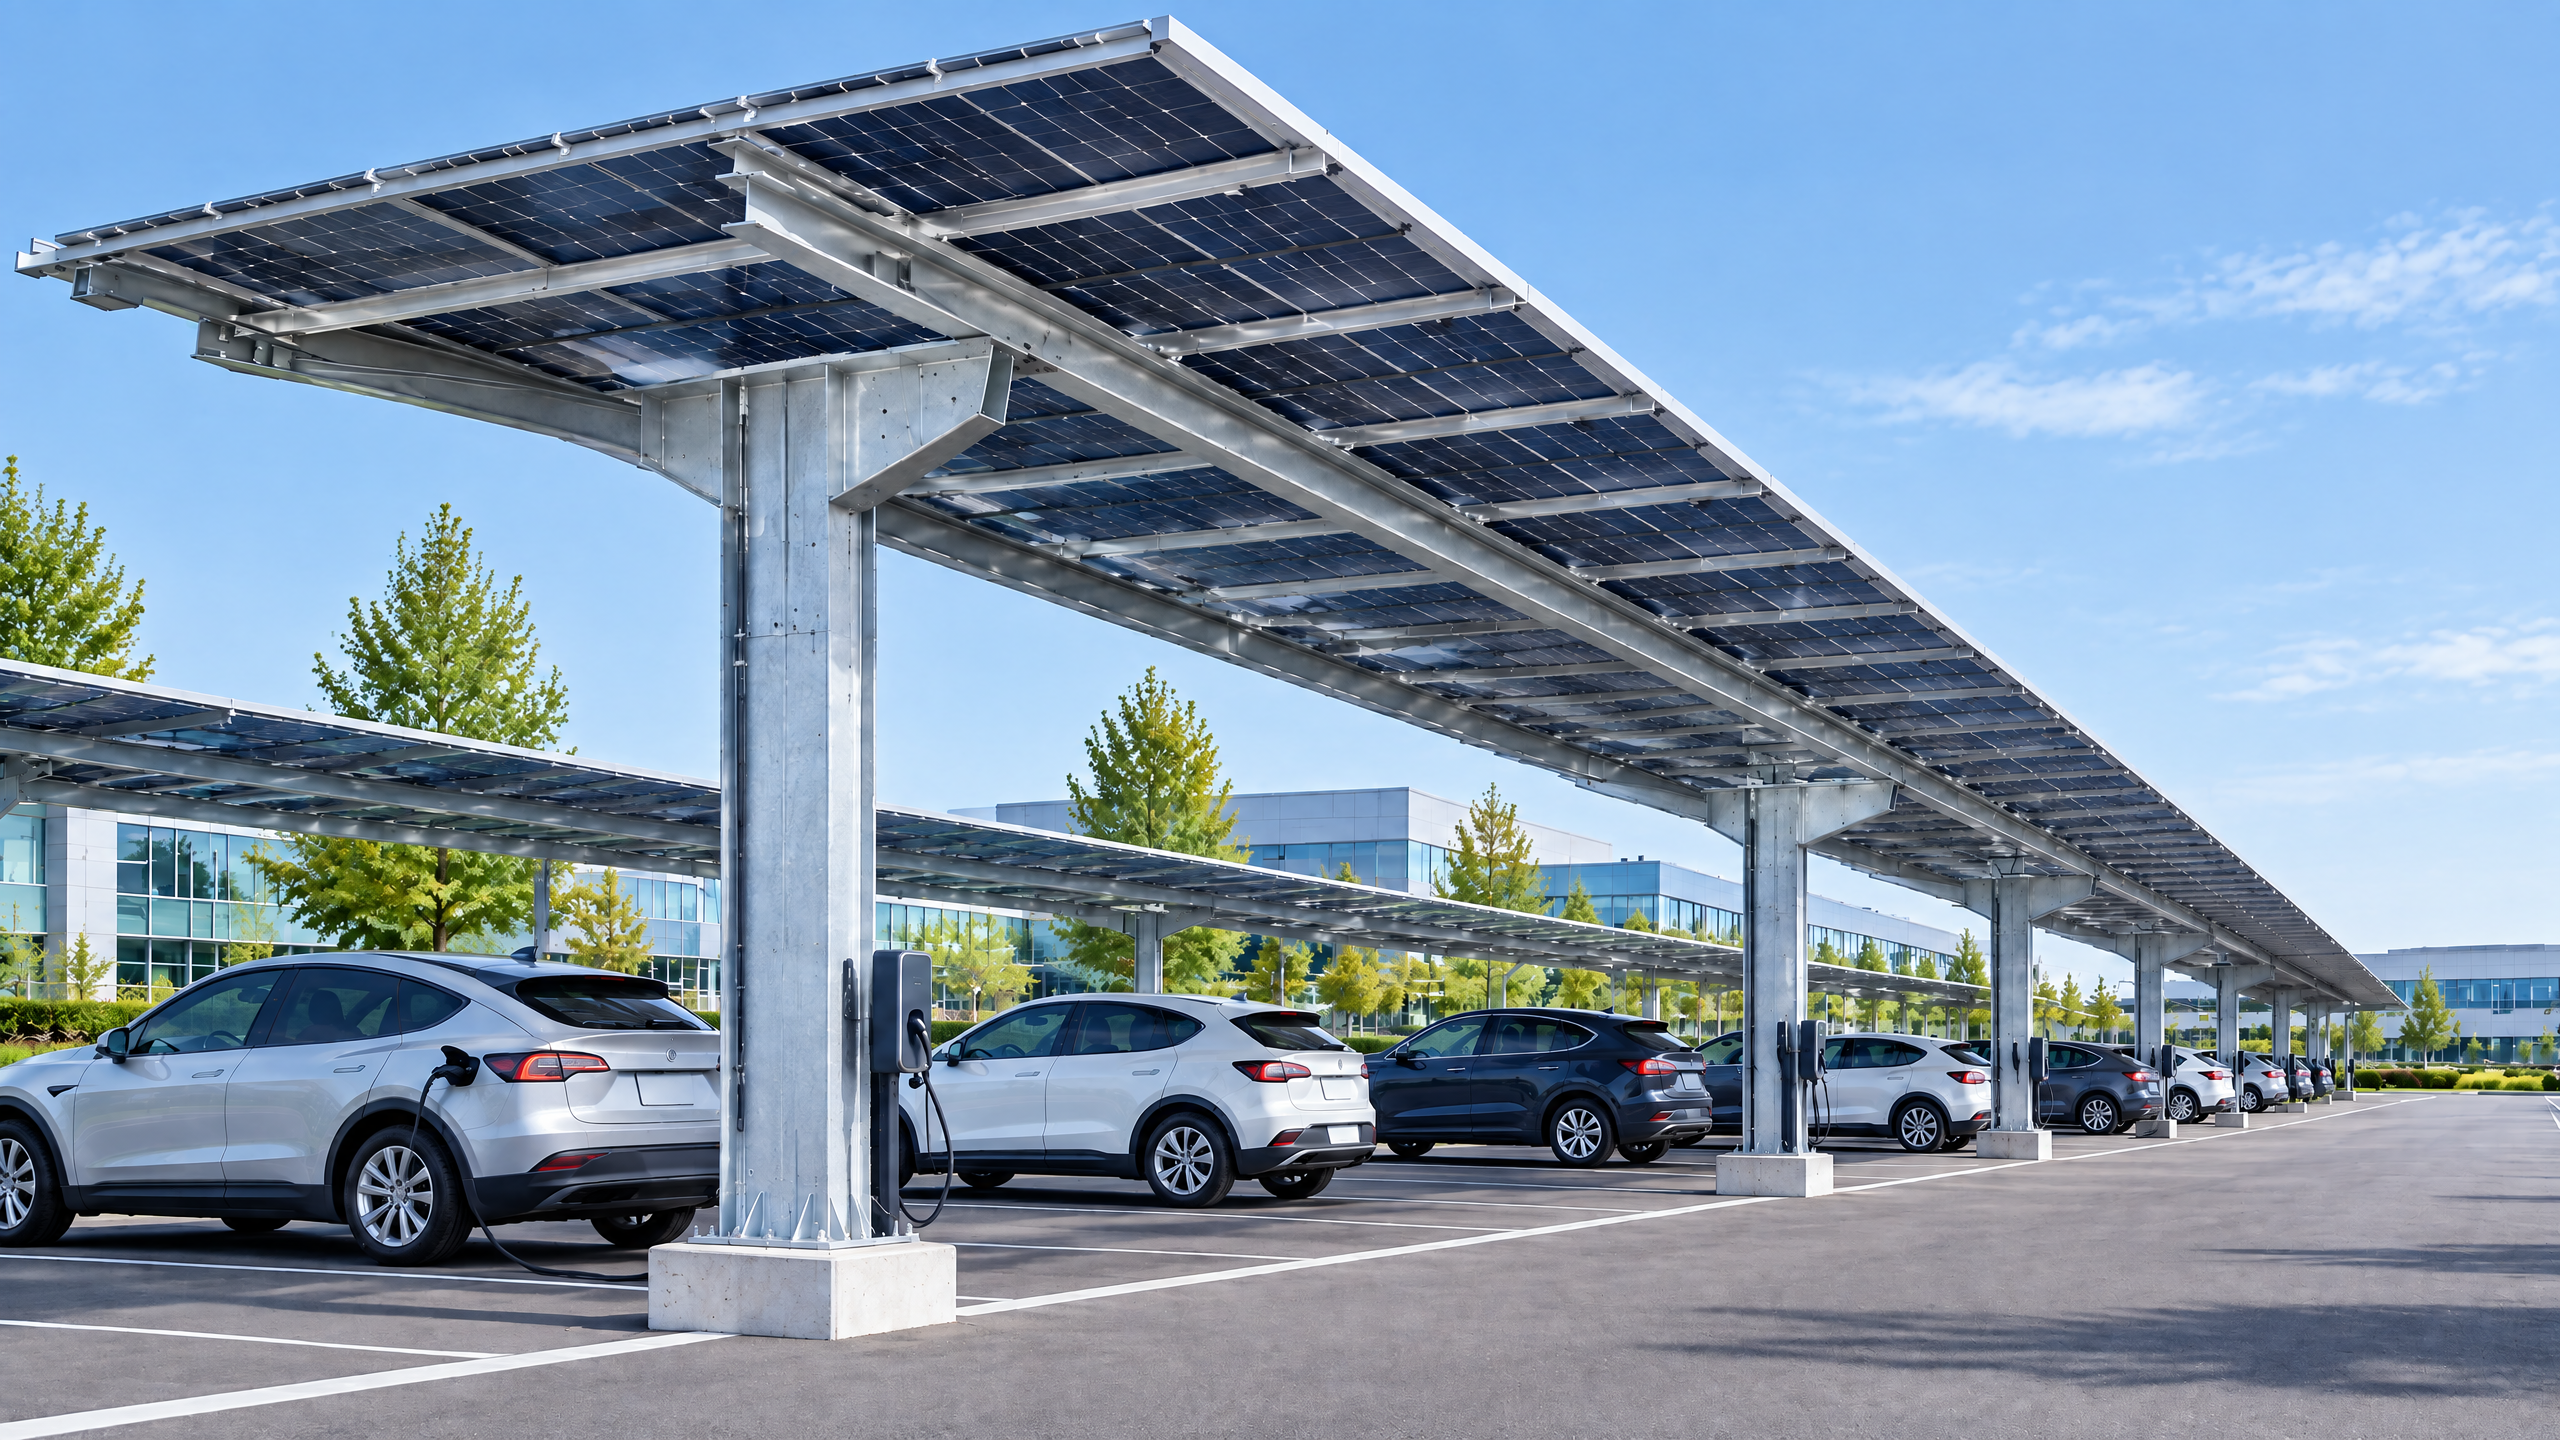
A project team must treat the solar carport cable management tray system as an engineered subsystem whose design, procurement and installation directly affect safety, maintainability, schedule and energy yield. At minimum confirm (1) the physical and electrical interfaces with the carport structure and PV equipment, (2) routing and segregation for DC and AC circuits consistent with code and thermal performance, (3) load capacity and mounting details to match site-specific structural designs, (4) compatibility with combiner boxes, inverters and EV charging where applicable, (5) access and maintenance clearances for routine inspections and emergency isolation, and (6) procurement evidence—shop drawings, material certificates and factory test or witness protocols—that matches the contract scope and warranty. Ensure permit, interconnection and utility requirements are resolved early. Site-specific structural capacity, foundations, permits, electrical design, approvals, lead time, price, energy yield and warranty must be documented on a project basis and confirmed with qualified local professionals, installers, utilities and authorities.
Buyer context and scope boundary: what the tray system is — and what it is not
A solar carport cable management tray system organizes, protects and guides electrical cables across a commercial carport structure. It is more than “a tray”: it is the engineered electrical pathway that connects PV modules, string combiners, DC protection, inverters, AC junctions and any downstream EV charging or building distribution. For procurement teams, clarifying the scope boundary avoids gaps and duplication between suppliers and trades.
Scope items typically included
- Trays, ladder rungs or enclosed raceways sized for expected cable counts and types.
- Mounts, brackets, clips, expansion joints and through-deck penetration kits compatible with the specific carport framing.
- Bonding, grounding straps and tray-bond connections; insulation spacers where required.
- Localized weatherproofing (covers, seals) and cable ties/retainers rated for outdoor PV installations.
- Identification and labeling plates or tags for cables and major terminations.
Commonly excluded scope items (to explicitly allocate)
- Structural steel design for the carport primary members and foundations (civil/structural scope).
- Inverter, transformer and switchgear equipment (electrical/mechanical scope), unless supplied as integrated systems.
- Final electrical connection and grid interconnection work performed by licensed electricians/utility.
- Site-specific permitting, foundation design and geotechnical works.
Use precise contract language to assign responsibility for interfaces with the carport structure and for factory vs site-installed components. For example, confirm if tray supports are welded to the structure in the factory or bolted on site, and whether bonding connections require access to main structural members.
Note: For system options and product families, see the SolarGrid commercial solar system, and for broader architectures review all systems and our sourcing guides.
Core decision principle: balance electrical pathway integrity with structural and operational constraints
The central decision principle is tradeoffs between electrical integrity (minimizing losses, heat risk and damage), structural compatibility (loads, fatigue, corrosion) and operational performance (maintenance, expansions). Prioritize decisions that eliminate rework during installation: selecting compatible attachment points and specifying cable fill and separation early avoids late design changes to module layout or inverter placement.
Key sub-principles
- Segregation and derating: Separate DC and AC on different trays or maintain spacing to limit electromagnetic interaction and heat build-up. DC cables commonly have different derating and fire implications than AC.
- Serviceability: Provide continuous walking/working platforms or removable covers and ensure maintenance access planning informs tray height and cross-beams.
- Corrosion and lifecycle: Use material choices that match the carport’s service environment—coastal or industrial atmospheres require enhanced corrosion protection.
- Schedule-driven procurement: Long-lead custom mounts or enclosed trays with integrated covers add lead time; align procurement milestones with structural fabrication and inverter schedules.
Decision table — tray typology and primary tradeoffs
| Tray type | Typical pros | Typical cons | Best-use cases |
|---|---|---|---|
| Perforated/solid-bottom tray (aluminium) | Lightweight, corrosion-resistant, easy to secure ties | Limited protection from water/ingress; can allow UV exposure | Standard commercial carports where weight and corrosion resistance are primary |
| Ladder tray (aluminium/steel) | Good ventilation and heat dissipation; simple for many cable sizes | Less protection from contaminants; requires careful tie-down | High DC current runs where heat dissipation and cable support are priorities |
| Enclosed raceway/duct (fibreglass/steel) | Weather and tamper-proof; better fire containment | Heavier; often custom; higher cost and longer lead time | Sites with security, contamination or specific fire-containment requirements |
| Conduit systems (rigid/IMC/HDPE) | Excellent mechanical protection and routing control | Labor- and material-intensive for high cable counts; can trap heat | Short penetrations, through-roof solutions, or final connections to equipment |
Use this table to match expected cable volumes, environmental exposure and maintenance policies.
Planning inputs: what data and stakeholders you must gather early
A robust planning phase reduces change orders. The tray system requires inputs from multiple disciplines. Gather these items before final procurement:
Essential site and design inputs
- Structural drawings with member locations, available attachment zones and defined loads (dead and live) for the carport frame.
- PV module layout: array rows, module clamp positions, string routing and expected string lengths.
- Electrical single-line diagram (SLD) showing combiner locations, inverter positions, DC/AC separation points, meter/switchgear.
- Equipment dimensional drawings for combiner boxes, inverters, transformers and EV chargers.
- Cable schedule: conductor types (PV DC, inverter AC, low-voltage controls), expected counts, sizes and insulation temperature ratings.
- Environmental data: exposure classification, wind zone, seismic zone, corrosion category, rainfall and snow loads for cover selection.
- Maintenance access policy and O&M schedule: who performs monthly/annual tasks and what clearance they require.
- Utility interconnection and permit conditions, including transformer/generator protection zones and conduit handoff points.
Stakeholders to confirm and sequence
- Structural engineer: confirms that attachment detail does not degrade member capacity.
- Electrical engineer (EPC): verifies cable fill, ampacity, voltage-drop, and coordination with PV equipment.
- Permitting authority or AHJ: confirms fire separation and penetrations.
- Utility/operator: confirms point of connection and any metering or relay requirements.
- Installer/constructor: coordinates sequencing, temporary supports and site access.
PV data and energy yield considerations
- When estimating array output and cable losses, use documented PV modeling tools and datasets. National lab resources such as PV performance studies and irradiation data are available via NREL resources [1]. Use PVWatts or similar calculators for preliminary yield estimates but confirm with system-level modeling for procurement sizing [2].
Important compliance and site-specific note Site-specific structural capacity, foundations, permits, electrical design, approvals, lead time, price, energy yield and warranty require a documented project basis and verification with relevant local qualified professionals, installers, utilities and authorities. Procurement must reference and attach project-specific design documents.
Technical specification and interfaces: what to specify in performance and detail
When writing technical specifications, be precise on functional requirements and interface details. Below are the critical technical items to specify, grouped for clarity.
Mechanical and materials
- Material grades: specify aluminium alloy (e.g., 6061-T6 or as agreed), or hot-dip galvanised steel with G90 or specified coating for steel. State expected coating thicknesses or equivalent anti-corrosion treatment for coastal/industrial environments.
- Structural loading: provide static and dynamic loading requirements (tray self-weight, cable load per meter, wind uplift if trays act as sails, and potential snow/debris loads). Require supplier calculations demonstrating compliance.
- Mounting and attachment: define bracket spacing, allowable bolt types, torque, and that fasteners shall be stainless steel (ASTM grade) or compatible with base steel to prevent galvanic corrosion.
- Expansion and contraction: specify thermal expansion joints for long runs and details at structure expansion points.
Electrical and fire
- Bonding and grounding: define bonding path, continuity requirements, and required bonding conductor sizes. State whether tray is part of the equipment grounding path; if so, specify bonding intervals and connection methods.
- Insulation and clearance: specify voltage separation and minimum clearances between DC and AC circuits and between high-voltage cables and structure per local code.
- Fire rating and pathway management: if required, specify fire-stopping details for roof or deck penetrations; indicate whether enclosed trays must provide a particular fire-resistive rating.
- Cable support and fill: provide cable-per-tray fill tables or reference to standards; require manufacturer calculations showing compliance with ampacity de-rating for ambient and grouping.
Environmental and durability
- UV resistance for polymer parts, temperature rating for cable ties and tray covers, and service temperature range.
- Drainage and seal details for enclosed trays to manage condensation and contaminants.
- Salt-spray or accelerated corrosion test references if applicable for the environment.
Interfaces with PV equipment and other subsystems
- PV combiner box locations: required clearances and dedicated mounting pads.
- Inverter and transformer adjacency: required clearances for ventilation and service access; confirm if bus ducts or cable trenches will be required for final AC distribution.
- Solar carport structural interface: show exact bracket attachment details on structure drawings and specify load transfer and weld/bolt patterns.
- Routing to point of grid handoff: specify final routing and conduit transitions to underground ductbanks or utility risers.
Decision table — interface detail checklist
| Interface | Must confirm | Typical acceptable evidence |
|---|---|---|
| Structural attachment points | Location, member capacity, bolt/weld method | Structural engineer’s signed detail; supplier shop drawing |
| Combiner/inverter mounting | Physical footprint and cable entry orientation | Manufacturer cut sheet + site mock-up if custom |
| Grounding continuity | Tray bonding conductor and test method | Ground continuity test procedure and acceptance criteria |
| Roof/deck penetrations | Penetration size, flashing, and firestop | Penetration detail and AHJ-approved method |
| Utility handoff | Metering location and conduit size | Utility pre-approval letter or interconnection requirement note |
Require supplier shop drawings that superimpose tray layout on structural plans and SLDs before production.
Procurement and factory evidence: what documents and tests to require
Commercial solar procurement for cable management systems should insist on objective factory evidence and timely documentation. This reduces disputes at installation and ensures warranty expectations are aligned.
Documents to require (contractually)
- Complete set of supplier shop drawings with dimensions and attachment details, stamped by a responsible engineer where required.
- Material certificates for primary metals (alloy/grade and coating), fasteners and polymer components.
- Load capacity calculations and tray-span tables validated by a qualified engineer.
- Grounding and bonding plan showing conductor sizes and termination methods.
- QA/QC plan and factory inspection checklists.
- Packaging and shipping specifications (prevent damage to brackets and trays).
- Lead times and production schedule tied to deliverable milestones.
Factory and inspection evidence
- Factory acceptance testing (FAT) or inspection protocol for fit/finish and dimensional conformance—ideally with photographs and measured dimensions.
- Witness testing options: for critical items (custom brackets or preassembled runs) require vendor to allow third-party or buyer witness of assembly.
- Coating and corrosion testing certificates (e.g., salt-spray where requested) and manufacturer’s warranty for finishes.
- Traceability records for fasteners and electrogalvanized items where corrosion resistance is critical.
Procurement checklist decision table
| Item | Contract requirement (Y/N) | Evidence type |
|---|---|---|
| Shop drawings with structure overlay | Y | Signed drawings and revision control |
| Material certificates for metals | Y | Mill test report or equivalent |
| Span/load calculations | Y | Engineer’s calculations and assumptions |
| Factory photos of assembled modules | N* | Recommended for complex prefabricated runs |
| Witnessed fit check | N | Optional but recommended for long custom runs |
| Coating/corrosion test data | Conditional | Required for coastal/industrial sites |
*“N” indicates not always mandatory—make conditional on complexity or site exposure.
Commercial terms to negotiate
- Delivery milestones with liquidated damages or agreed remedies for late delivery where schedule risk is high.
- Warranty terms specifying finish and structural performance durations; tie warranty triggers to installation acceptance documentation.
- Spare parts and spare module brackets: define spare set quantities and storage/packaging requirements.
Link procurement to broader system purchasing: coordinate the tray supplier with other kits such as module racking and the SolarGrid commercial solar system components as applicable. Use our sourcing guides for standardized procurement language.
Site installation and operations: sequencing, control points and maintenance access planning
Installation is where design assumptions meet reality. A clear sequence and identification of control points reduces rework and safety risks.
Installation sequencing highlights
- Structural completion: confirm primary members and attachments are approved and available for mounting. Avoid pre-assembling trays to a structure subject to late design changes.
- Pre-install site mock-up: for complex attachments, install a representative section for verification.
- Tray installation: mount trays per shop drawings, confirm span and fasteners; install expansion joints as required.
- Grounding and bonding: bond trays as installed; provide continuity testing before cable pulling.
- Cable pulling: coordinate with electrical team. Use rollers or low-friction liners on long runs to avoid cable damage.
- Labeling and as-built documentation: update one-line diagrams and tray maps to reflect final routing.
Control points and hold points
- Structural attachment sign-off: require structural engineer’s in-situ acceptance for any on-site threading or welding.
- Ground continuity testing: hold cable pulling until bonding conductor is installed and tested.
- Weatherproofing and penetrations: hold until flashings and firestop are installed and inspected.
- Final electrical commissioning: requires cable identification, megger tests, and function tests coordinated with inverter commissioning.
Maintenance and access
- Specify maintenance access intervals (e.g., clearance for inspection every module string combiner) and design for those clearances.
- Define removable covers or hinged entries for enclosed trays; specify single-person removable sections for routine inspections.
- Include a maintenance access planning entry in the O&M manual that ties tray locations to combiner and inverter IDs.
- Plan for lateral expansion if modules or inverters are added — reserve space in a tray route for additional strings to reduce future disruption.
Operational considerations for combined PV and EV infrastructure
- If the carport will host EV chargers, confirm whether charger power runs will occupy the same trays or separate conduits. Early PV equipment coordination prevents later conflicts between DC string routing and high-current AC EV feeders.
- Use AFDC resources for guidance on EV infrastructure siting relative to PV arrays when integrating charging points [3].
Safety and testing
- After installation, require insulation resistance testing (megger), continuity and polarity checks.
- Record tests in commissioning files and provide the dataset as part of acceptance.
- Confirm that any site work requiring utility shutdown is scheduled and permitted; coordinate with utility requirements and interconnection conditions [4].
Remember: site-specific structural capacity, foundations, permits, electrical design, approvals, lead time, price, energy yield and warranty must be documented and verified by local qualified professionals, installers, utilities and authorities.
Mid-article CTA If you need a coordinated specification or shop drawing review for tray-to-structure interfaces, contact /inquiry or info@carportiva.com. We can also align tray procurement with the SolarGrid commercial solar system and share relevant sourcing guides.
Implementation risks and mitigations: anticipate and reduce costly changes
Below are common implementation risks with practical mitigations. Include these as contract appendices or pre-bid clarifications.
Risk: Structural incompatibility or insufficient attachment zones
- Mitigation: Require early structural interface drawings; include an allowance for minor bracket redesigns; perform a site mock-up and structural sign-off hold point.
Risk: Cable overheating and derating when grouped
- Mitigation: Define cable grouping limits, specify ventilation or separate trays for DC/AC, use larger conductors where necessary based on ampacity tables and ambient temperature corrections.
Risk: Water ingress or corrosion in enclosed trays
- Mitigation: Specify drain points, covers with gaskets rated to environment, and corrosion-resistant materials with defined maintenance and inspection intervals.
Risk: Inadequate grounding continuity
- Mitigation: Define bonding intervals (e.g., every X meters), use redundant bonds through structure where required, and require continuity testing at pre-defined milestones.
Risk: Long lead times for custom brackets or enclosed runs
- Mitigation: Lock shop drawings early, place procurement orders for long-lead items on an agreed schedule, and maintain a prioritized risk register tying procurement to milestones.
Risk: Permit or utility interconnection delays
- Mitigation: Engage with utilities and permitting authorities early; provide interconnection documents and SLDs in bid packages; track critical permit dependencies in the schedule.
Risk: Mismatch between tray routing and equipment delivered
- Mitigation: Coordinate exact equipment footprints before tray fabrication; require equipment templates from vendors during design freeze.
Risk: Limited maintenance access leading to costly service downtime
- Mitigation: Include maintenance access planning and clearance checks in initial design reviews; require removable covers and labeling for rapid isolation.
Risk: Hidden latent defects due to inadequate factory QA
- Mitigation: Require factory acceptance evidence, third-party inspections for critical elements and photographic as-built records.
A named six-step buyer workflow for solar carport cable management tray systems
This workflow is a practical checklist buyers can use through procurement to commissioning.
Step 1 — Define functional scope and constraints (Deliverable: Scope matrix)
- Identify included/excluded items.
- Assign responsibilities for structural vs electrical works and handover points.
Step 2 — Gather design inputs and lock interfaces (Deliverable: Interface register)
- Collect structural drawings, SLDs, equipment cut sheets, environmental data and maintenance policy.
- Lock attachment points and combiner/inverter locations.
Step 3 — Issue technical specification and pre-qualification (Deliverable: Pre-qualification short-list)
- Release detailed tray specification inclusive of bonding, material and environmental requirements.
- Pre-qualify vendors by requesting shop drawings and material certificates.
Step 4 — Shop drawing review and approval (Deliverable: Approved shop drawings)
- Require supplier to superimpose tray runs on structure and SLDs.
- Approve or iterate with hold points for structural sign-off.
Step 5 — Manufacture, inspection and shipping (Deliverable: Factory QA pack)
- Conduct FAT or witness inspections as required.
- Obtain mill certificates, corrosion test evidence and packing lists.
Step 6 — Site installation, testing and documentation (Deliverable: Commissioning pack)
- Ensure bonding continuity testing, insulation resistance tests and as-built updates.
- Handover O&M documentation and warranty certificates.
Use the workflow to translate high-level procurement language into actionable milestones on the project schedule.
Related B2B sourcing terms
For the same project brief, buyers may also encounter these connected search terms: electrical pathway planning, utility and permit interface. They must be interpreted against the actual project scope rather than treated as independent technical guarantees.
FAQ — practical answers to common buyer questions
Q: Should DC and AC cables share the same tray on a commercial carport? A: Prefer separation. If they share a tray, maintain spacing and separation per local code and the electrical engineer’s ampacity/thermal calculations. Separation reduces electromagnetic interaction and eases fault resolution.
Q: What materials should I specify for coastal or high-corrosion environments? A: Prioritize aluminium with appropriate anodisation or high-grade stainless steel fasteners. For steel structures specify hot-dip galvanizing with defined coating thicknesses. Require corrosion testing evidence and scheduled inspections.
Q: How do I manage cable derating in long, congested runs? A: Use ampacity correction factors for ambient temperature and cable grouping. Where derating leads to oversized conductors, adjust tray sizing and conduit transitions accordingly.
Q: What is a recommended acceptance testing regimen for tray systems? A: Dimensional verification, bonding continuity tests, inspection of fasteners and coatings, visual inspection for damage, and verification that covers/drainage are correctly installed. Record all tests in the commissioning pack.
Q: Who is responsible for penetrations through the carport roof deck? A: This must be specified. Typically the structural or waterproofing trade completes flashing and fire-stopping; the electrical/installer installs conduits. Document responsibility in the scope to avoid disputes.
Q: How can I plan for future PV or EV expansion? A: Reserve spare capacity in trays (e.g., 20–30% spare fill depending on expected growth), design for accessible expansion points and install routed corridors to key distribution equipment for minimal rework.
Q: Are there standard design references for PV-related cable routing? A: Use national laboratory resources and accepted electrical standards. NREL provides PV technical resources for design guidance [1]. For preliminary energy modeling use PVWatts [2]. For interconnection considerations, consult utility rules and federal guidance [4].
Conclusion: integrate the tray system into procurement as a fully engineered subsystem
Treat the solar carport cable management tray system as an engineered subsystem rather than a commodity. Prioritize early coordination between structural engineers, electrical designers, vendors and utilities. Require explicit shop drawings, material certificates and factory evidence tied to contract milestones. Design for maintainability and future expansion, and manage interface risk through documented hold points.
Site-specific structural capacity, foundations, permits, electrical design, approvals, lead time, price, energy yield and warranty must be determined on a documented project basis and confirmed with relevant local qualified professionals, installers, utilities and authorities.
For specification templates, shop-drawing coordination or to align tray procurement with the SolarGrid commercial solar system, contact /inquiry or info@carportiva.com. You can also review our sourcing guides and available all systems for integrated approaches.
References
- NREL PV resources and technical guidance: https://www.nrel.gov/solar/
- PVWatts Calculator for preliminary energy modeling: https://pvwatts.nrel.gov/
- U.S. Department of Energy AFDC for EV infrastructure siting considerations: https://afdc.energy.gov/
- FERC interconnection resources and generator interconnection guidance: https://www.ferc.gov/electric-transmission/generator-interconnection
References
- National Laboratory of the Rockies PV resources: https://www.nrel.gov/solar/
- PVWatts Calculator: https://pvwatts.nrel.gov/
- U.S. Department of Energy Alternative Fuels Data Center: https://afdc.energy.gov/
- Federal Energy Regulatory Commission interconnection resources: https://www.ferc.gov/electric-transmission/generator-interconnection
Keep the project brief connected.
Bring the actual project brief to the engineering table.
Share your location, layout, target application and available technical inputs. Carportiva can help identify the relevant product-interface information before a project-specific commercial discussion.
Request a project discussion