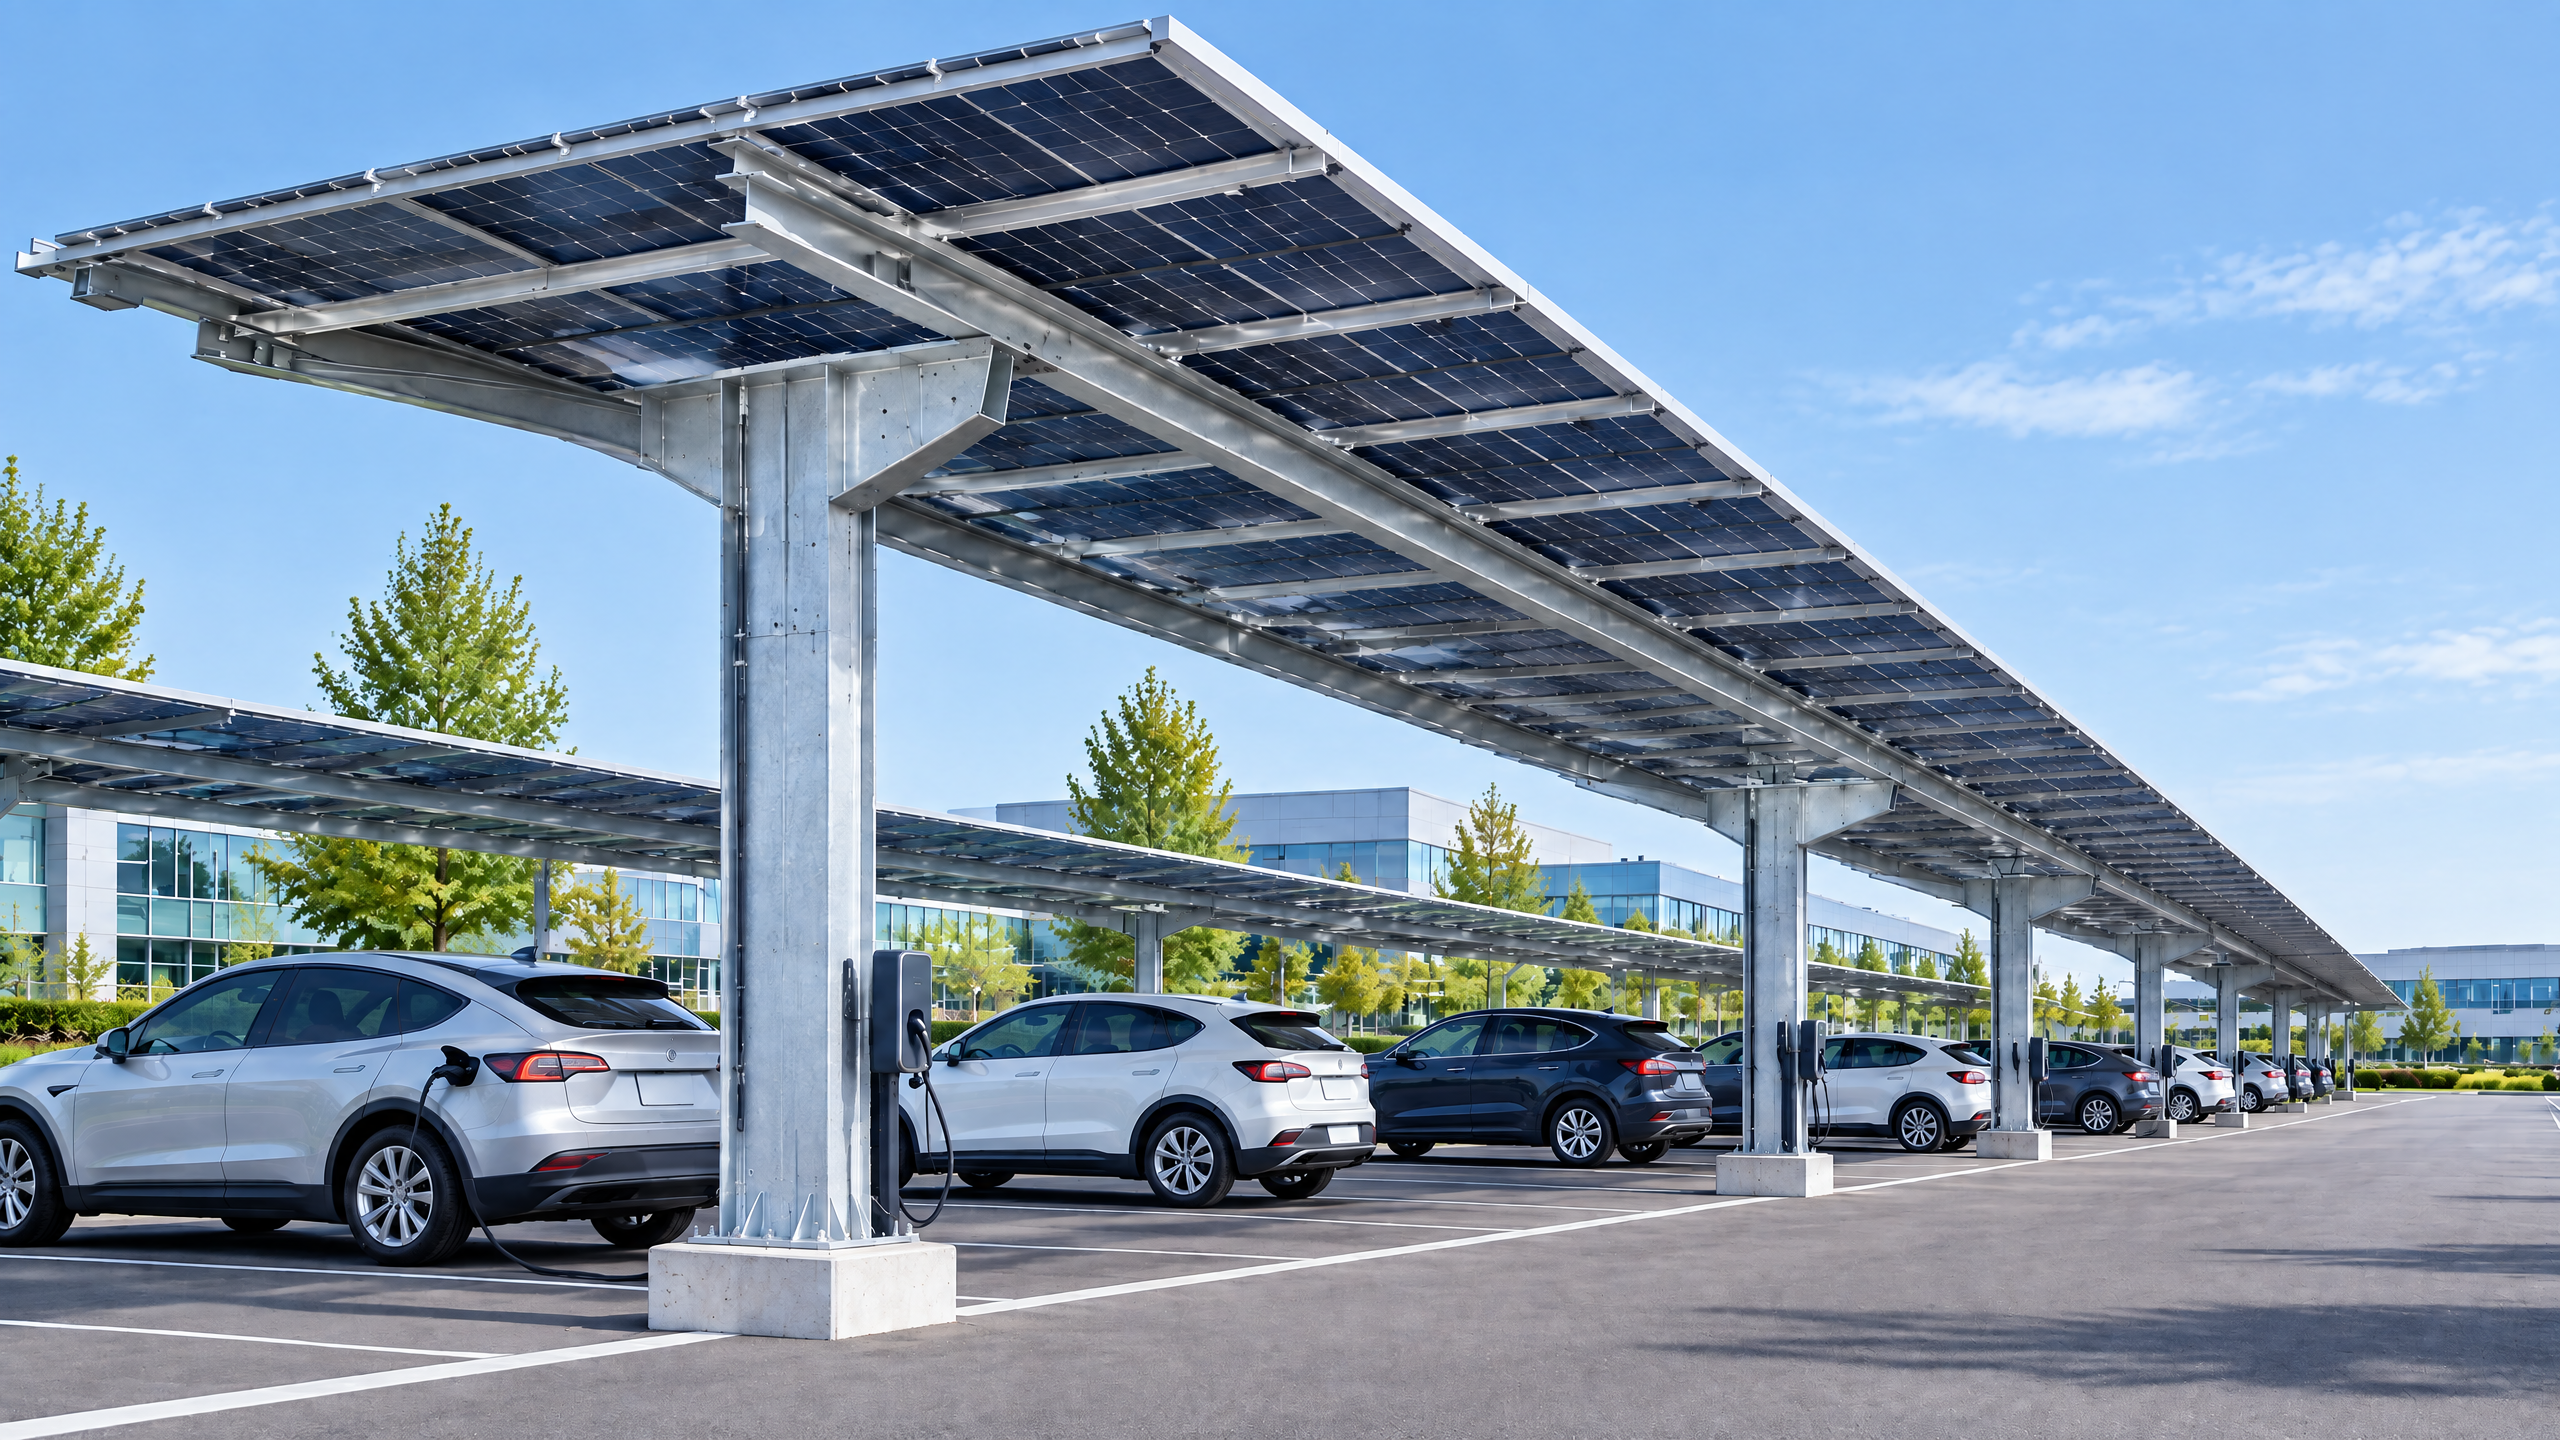
A clear, implementable solar carport drainage downpipe layout specification balances three priorities: reliable stormwater management, protection of PV and electrical systems, and maintainable access for operations. Begin with defined performance criteria (design rainfall, allowable ponding, runoff routing) and a coordination matrix that locks down the solar carport structural interface, PV equipment coordination, electrical pathway planning and utility and permit interface. Translate those criteria into measurable inputs: downpipe sizing, scupper and gutter detail, separation and mounting details where conduit and combiner boxes cross drainage lines, and maintenance access planning for inspections and debris clearance. Use procurement evidence—material certificates, factory QA checklists, installation drawings and water-tightness acceptance tests—before site mobilization. Finally, require that energy yield, foundations, permits, electrical design, approvals, lead time, price and warranty be confirmed on a documented project basis by local qualified professionals, installers, utilities and authorities.
Buyer context and scope boundary
Purpose and audience
- This guide is written for global B2B buyers: distributors, architects, contractors, developers, solar EPCs and fleet operators evaluating or specifying a solar carport drainage downpipe layout for commercial carport projects.
- It focuses exclusively on the drainage downpipe network that removes roof runoff from aluminium carport canopies that carry PV arrays or are intended for future PV installation, and on the interfaces that influence that layout.
Scope boundaries
- Included: design inputs (rainfall, roof area and slope), structural interfaces, routing around PV hardware, conduit and equipment risers, procurement and factory evidence, installation sequencing, operations and maintenance considerations, and procurement workflow.
- Excluded: detailed hydraulic modeling for municipal stormwater systems (refer to local civil engineering practice), site-specific foundation design, electrical engineering calculations for power systems, and utility interconnection procedures beyond coordination requirements. Those require a documented project basis and qualified local professionals.
Project roles and responsibilities (high level)
- Owner / Developer: defines required performance, budget and ongoing maintenance regime.
- Design lead (architect/engineer): integrates drainage with structural, PV and electrical designs.
- Structural supplier/manufacturer (e.g., Carportiva): supplies roof and downpipe assemblies, interface details and factory QA evidence.
- Electrical contractor / PV EPC: coordinates PV equipment placement, conduit risers and cable management.
- Local authorities/utilities: approve permits and accept stormwater discharges where applicable.
Boundary checks (quick)
- Is the carport a new build or retrofit? Retrofit often constrains routing and structural penetrations.
- Is the canopy aluminium or mixed material? Details for connections and fastener selection change by substrate.
- Is the PV a retrofit or integrated? PV equipment coordination affects downpipe placement and combiner box locations.
Core decision principle: performance-led coordination over isolated detail
Primary decision principle
- Treat solar carport drainage downpipe layout as an integrated performance requirement, not an add-on detail. The specification must deliver:
- hydraulic performance (no unacceptable ponding, adequate capacity for design storm),
- physical protection (prevent water ingress into PV junction boxes and inverters),
- structural compatibility (load and connection details for the carport frame),
- operational access (clearance for inspections, cleaning and repairs), and
- regulatory compliance (stormwater discharge, fire codes where relevant).
Trade-offs to manage
- Centralized vs distributed downpipes: centralized drains simplify above-ground routing and reduce penetrations, but increase gutter spans and require larger gutters; distributed drains reduce individual gutter spans but increase potential conflicts with PV equipment and electrical pathways.
- Surface routing vs concealed routing: concealed internal downpipes look cleaner but complicate maintenance access planning and increase potential for concealed water damage.
- Minimizing penetrations vs electrical pathway planning: fewer penetrations lower waterproofing risk but may force electrical equipment to be placed further from optimal PV layout or shade-critical zones.
Decision metric examples (use in procurement)
- Maximum allowable roof ponding depth (mm) and allowable downtime for drain clearing (hours).
- Maximum separations between downpipes (m) for given gutter span/capacity.
- Required separation distance between downpipe risers and DC combiner/inverter enclosures.
Planning inputs — essential data to collect before you specify layout
Collect these data points for every project; treat them as mandatory inputs to any specification.
Site and meteorological inputs
- Design rainfall intensity and duration for the relevant return period (local authority or code). If local standards are not prescriptive, use historical rainfall intensity curves from a qualified hydrologic source.
- Wind-driven rain considerations where relevant for inlet placement.
- Snow and ice load expectations that affect gutter loading and the need for heat trace or special snow deflection.
Roof and canopy geometry
- Plan area and tributary area per gutter run (m2).
- Roof slope and local falls toward scuppers or gutters.
- Module layout: module string rows, module edge distances, and any setback zones required for cleaning and access.
Structural and architectural inputs
- Member sizes, available web space within columns or beams for concealed downpipes.
- Attachment details for gutters, scuppers and downpipes to the aluminium framing.
- Finish and corrosion class required for external materials.
PV and electrical inputs (PV equipment coordination / electrical pathway planning)
- PV module layout, j-box locations, stringing scheme and combiner box locations.
- Inverter and EV charger locations adjacent to or under the canopy.
- Conduit entry/exit locations for AC and DC cables; riser locations to connectivity points.
- Required separation or segregation between low-voltage DC cables and water-carrying elements.
Site utilities and permits (utility and permit interface)
- Local stormwater discharge rules and whether connection to a municipal system, percolation/attenuation or on-site retention is required.
- Permit submittal requirements for roof-mounted structures and drainage penetrations.
- Interconnection requirements and any utility restrictions that affect equipment placement under or adjacent to the canopy [4].
Operational inputs
- Maintenance regime: frequency of cleaning, inspection access, probable debris load (trees, bird activity).
- Service vehicle movement beneath the canopy and the need for unobstructed clearance for lifts and cranes.
Relevant evidentiary and testing inputs
- Product technical datasheets and material certificates for gutters, downpipes and fasteners.
- Factory water-tightness testing protocol for joints and flashings.
- Installation tolerances and on-site acceptance tests (e.g., water hose test).
Note: energy yield and system sizing assumptions that influence PV placement and interception of drainage must be validated using documented yield tools such as PVWatts or similar during the design phase [1][2]. Also confirm that site-specific structural capacity, foundations, permits, electrical design, approvals, lead time, price, energy yield and warranty require a documented project basis and relevant local qualified professionals, installers, utilities and authorities.
Technical specification and interfaces
Detailed specification topics you must include in procurement documents:
- Gutter and scupper system
- Profile: specify gutter profile, material (architectural aluminium alloy and finish), thickness, and expected load rating (debris, snow).
- Sealing: joint sealing method, gasket material, and expected life cycle.
- Scupper design: scupper throat dimensions, waterplane slope, overflow provisions, and mesh/strainer details to prevent blockages while allowing maintenance access.
- Downpipe sizing and routing (hydraulic basis)
- Base sizing on tributary area per downpipe and chosen design storm intensity; provide sizing tables or require hydraulic calcs from bidders. For example, specify maximum tributary area per downpipe at chosen design rainfall intensity rather than only a pipe diameter.
- Define maximum allowable vertical drop height and acceptable velocity range in the downpipe to manage noise and prevent erosion at outlet.
- Use elbows and supports that comply with manufacturer recommended angular changes to minimise clogging.
- Structural interface (solar carport structural interface)
- Define specific connection details where downpipes attach to the primary framing: clamp styles, saddle plates, backing plates, and through-bolt or welded options for aluminium.
- If routing through columns, specify sleeve details, gaskets and corrosion separation materials to avoid dissimilar metal issues.
- Require a sign-off process: structural engineer must approve any penetrations or load additions.
- PV equipment coordination (PV equipment coordination)
- Prohibit downpipe locations that direct runoff over module edges, junction boxes, or electrical enclosures.
- Where conduits and downpipes share columns or gutters, specify minimum separation and mounting brackets that isolate vibration and water pathways from electrical components.
- Define mounting offsets so combiner boxes and inverters remain accessible without obstructing downpipe access.
- Electrical pathway planning (electrical pathway planning)
- Route cable trays and conduits to avoid water splash zones and direct drainage paths; where crossing is unavoidable, use watertight conduit entries and elevated mounting.
- Specify minimum vertical and horizontal clearance between downpipe runs and electrical enclosures; ensure cable joints and terminations are above the predicted splash or ponding elevation.
- Require labeled riser locations on drawings and as-built documentation for future maintenance.
- Waterproofing and flashing
- Flashing details where gutters terminate at structural members or where scuppers pass through walls; include continuous seals, compatible materials and method statements for installation.
- Provide acceptance criteria and non-destructive test procedures for watertightness (e.g., controlled water test).
- Outlet and storm connection
- Specify outlet termination (to ground-level open discharge, storm drainage pipe, or attenuation system).
- For direct connection to municipal systems, require storm sewer connection details and local permit compliance.
- Material and finish
- Aluminium alloy, anodizing or PVDF paint finish as required in the project’s environmental exposure class.
- Stainless steel fasteners or specified corrosion-resistant coatings when in mixed-metal assemblies.
- Access and serviceability (maintenance access planning)
- Ladderway, platform or removable panels for clearing blockages in high or concealed runs.
- Clear vertical space around downpipes and access openings for CCTV or rodding equipment.
- Documentation deliverables
- Fabrication drawings and shop drawings showing exact locations, clamp details and interface with PV and electrical equipment.
- A co-ordinated interface drawing (single, multi-discipline drawing) that integrates structural framing, PV arrays, cable trays and the drainage network.
Procurement and factory evidence — what to require from suppliers
Buyers engaged in commercial solar procurement should insist on demonstrable factory and supply-chain evidence. This reduces site rework and downstream risk.
Key documentation to request (mandatory)
- Material certificates: alloy grade, finish specification and test reports from the mill.
- Shop drawings: fully dimensioned details showing gutter, scupper and downpipe locations relative to PV and electrical equipment.
- Interface matrix: a one-page table listing each downpipe, corresponding tributary area, discharge point, and associated PV/electrical equipment within 1.5 m.
- QA/QC plan: factory inspection points, dimensional checks, joint testing and packing details.
- Installation method statement: recommended installation sequence and details for temporary water management during construction.
- Factory water test results or a factory joint-seal verification protocol where available.
Decision table — Procurement evidence checklist
| Evidence item | Purpose | Minimum acceptance |
|---|---|---|
| Material certificates (alloy/finish) | Verify corrosion and structural performance | Mill certificate per batch |
| Shop drawings with PV/electrical overlays | Ensure coordination before fabrication | Signed and dated by design lead |
| Factory QA checklist | Demonstrate dimensional and joint compliance | Completed checklist with signatures |
| Water-tightness/assembly test or protocol | Reduce risk of field leakage | Test report or factory procedure |
| Fastener and accessory spec | Prevent galvanic corrosion and ensure fit | Manufacturer datasheet |
| Packing and transport protection plan | Prevent on-site damage | Documented packaging plan |
Decision table — Downpipe placement strategy (high-level)
| Strategy | Best where | Primary pros | Primary cons |
|---|---|---|---|
| Distributed downpipes (many small drains) | Low-rise canopies with many tributary points | Easier local drainage, smaller gutters | More penetrations, higher risk of clashes with PV/electrical |
| Centralized downpipes (fewer large drains) | Long continuous runs with clear structural supports | Fewer penetrations and easier maintenance | Larger gutter spans, larger single-point discharge |
| Concealed downpipes (inside columns/frames) | Architectural preference and theft protection | Cleaner aesthetic and protected piping | Harder to access, risk of concealed leaks |
| External downpipes (surface-mounted) | Easy maintenance and retrofit scenarios | Readily accessible for cleaning and inspection | Potential for physical damage and visual impact |
If you want procurement templates, product specifications or a co-ordination drawing example from Carportiva, request details via /inquiry or contact info@carportiva.com. See our SolarGrid commercial solar system for integrated canopy options and review all systems and sourcing guides for broader procurement resources.
Site installation and operations — sequencing and practical measures
Installation sequencing principles
- Set temporary drainage and erosion control before canopy erection. Protect neighbouring property and work areas from runoff during construction.
- Erect primary structural frame and attach gutters and scuppers before installing PV modules to ensure drainage paths are established and tested.
- Install downpipes after PV module and electrical equipment rough-in positions are confirmed. Avoid fixed downpipes that obstruct later access to junction boxes.
- Coordinate the electrical contractor so conduit and combiner box installation does not impede final downpipe connection.
On-site tests and acceptance
- Pre-commissioning water test: use controlled water application (hose test) to confirm no ponding or leakage at gutter joints and scuppers.
- Visual inspection after moderate rainfall: log observed performance and compare against acceptance criteria.
- As-built documentation: update drawings to show exact locations of downpipes, storm connections, and electrical risers.
Maintenance planning (maintenance access planning)
- Define inspection intervals based on local conditions. Typical actions include debris clearance, strainer cleaning, and verifying seals/gaskets.
- Provide safe access to high or concealed downpipe runs: removable panels, access hatches or inspection platforms.
- Keep a logbook and include drainage inspection checklists in handover documents.
Operational resilience measures
- Screening and debris guards at scuppers and gutter inlets to reduce blockages.
- Redundant overflow paths: design overflow scuppers or overflow gutters sized to handle blocked primary drains during extreme events.
- Consider anti-vibration clamps and flexible connectors near electrical equipment to reduce fatigue.
Complying with utilities and interconnection procedures
- Coordinate with the utility early when equipment such as inverters, EV chargers or metering is installed under the canopy; utility access and safety clearances may affect where downpipes and risers can be placed [4].
- For projects that require energy yield estimates or site shading analysis to determine PV placement—and therefore drainage conflicts—use PV performance tools such as PVWatts or local solar resource data [1][2].
Implementation risks and mitigations
Key implementation risks
- Water ingress into PV junction boxes, inverters or combiner boxes.
- Mitigation: maintain vertical/horizontal separation standards; locate electrical enclosures outside primary splash zones and above predicted standing water; use IP-rated enclosures with sealed cable entries.
- Concealed leaks causing hidden corrosion or structural damage.
- Mitigation: avoid concealed runs where possible; use access panels and design for inspection; use dissimilar-metal isolation gaskets where aluminium meets stainless or galvanized steel.
- Downpipe blockage leading to ponding and module shading or overload.
- Mitigation: specify strainers/screens, sufficient overflow capacity, and scheduled maintenance; design gutters with self-cleaning slopes.
- Clash between downpipes and electrical conduit or PV module edges.
- Mitigation: lock down PV equipment coordination and electrical pathway planning in early design; require co-ordination drawings with sign-offs.
- Permit delays and municipal rejection of discharge strategy.
- Mitigation: engage early with local authorities; provide modular documentation and show compliance with local stormwater rules; offer alternative discharge/attenuation plans.
- Lead-time or supply-chain delays affecting project schedule.
- Mitigation: require production schedules, long-lead item identification and early procurement windows in commercial solar procurement contracts.
- Improper field installation or acceptance testing.
- Mitigation: define on-site acceptance tests, require manufacturer-directed installation or supervision on critical interfaces, and include hold points in the contract.
Risk allocation and contract clauses
- Use clear contract clauses that allocate responsibility for coordination errors (e.g., who updates as-built drawings) and define acceptable tolerances. Require remedial action windows and warranty remedies.
Six-step buyer workflow: specify-to-operation for drainage downpipe layout
A named six-step buyer workflow designed for procurement teams and technical buyers.
Step 1 — Define project performance and constraints (Assess)
- Deliverables: performance criteria document (design rainfall, ponding limits), site data pack, list of adjacent utilities and permit constraints.
- Action: owner or design lead issues a Drainage Performance Brief to bidders.
Step 2 — Integrate multi-discipline inputs (Coordinate)
- Deliverables: co-ordination meeting minutes, draft interface drawing combining structural, PV and electrical layouts.
- Action: hold a technical coordination workshop before issuing RFQ/RFP. Lock down preferred conduit and riser corridors.
Step 3 — Produce technical specification and procurement package (Specify)
- Deliverables: technical spec (gutter/downpipe profiles, materials, fasteners), shop drawing requirements, QA checklists, test protocols.
- Action: include mandatory evidence requirements and factory test criteria in the procurement package.
Step 4 — Select supplier and validate factory evidence (Procure)
- Deliverables: supplier submission pack including shop drawings, material certificates and factory QA reports.
- Action: review evidence against the procurement checklist and request clarifications; issue notice to proceed only after sign-off.
Step 5 — Supervise site installation and test (Install & Commission)
- Deliverables: site acceptance test reports (water tests), as-built drawings, updated interface matrix.
- Action: enforce hold points for critical waterproofing and penetration works, document all test results.
Step 6 — Handover and O&M setup (Operate)
- Deliverables: maintenance plan, inspection checklist, spare parts list, warranty documentation.
- Action: include drainage checks in routine PV O&M schedules and ensure maintenance access training for on-site staff.
Decision table — Workflow milestones and responsibilities
| Workflow step | Buyer role | Supplier/Contractor role | Key deliverable |
|---|---|---|---|
| Assess | Provide project brief | Review site pack | Drainage Performance Brief |
| Coordinate | Approve interface decisions | Attend coordination workshop | Co-ordinated interface drawing |
| Specify | Issue procurement documents | Prepare shop drawings | Technical specification |
| Procure | Evaluate evidence | Provide factory QA | Material certificates & QA reports |
| Install & Commission | Witness tests | Execute installation & testing | Water test & as-built drawings |
| Operate | Accept handover | Provide O&M plan | Maintenance schedule & warranties |
Frequently asked questions
Q: How do I choose between centralized and distributed downpipe layouts? A: Base the choice on structural framing, tributary areas and site access. Centralized layouts reduce penetrations and simplify maintenance around PV equipment but need larger gutters and robust structural support. Distributed layouts work when roof geometry or architectural constraints prevent long gutters but increase the need for co-ordination with PV equipment and electrical pathways.
Q: What minimum separation should I specify between downpipes and electrical combiner boxes? A: There is no universal number; instead specify a functional separation tied to protection: locate electrical terminations and access panels above any anticipated splash/ponding elevation and require vertical clearance sufficient for personnel to service equipment without contacting downpipes. Also require that cable entries be sealed and above the highest expected water plane. Consult the electrical design lead and local code.
Q: Can downpipes be concealed within columns? A: Yes, but only with clear access provisions and acceptance that concealed leakage is higher risk. When concealed, specify inspection panels, use corrosion-isolating materials and require a factory or field water-tightness verification.
Q: How should I manage debris and leaves to avoid clogging? A: Design strainers at scuppers/gutter inlets sized per expected debris and provide accessible clean-out points. Schedule periodic inspections and include easy removal of strainers in maintenance access planning.
Q: Who is responsible for stormwater connection approval? A: The project owner or developer arranges for municipal connection approvals. However, your procurement documents must require the supplier to accommodate the chosen outlet method and provide details needed by the authority. Early engagement with utilities reduces surprises [4].
Q: How does drainage layout affect energy yield? A: Ponding and accumulated debris can locally shade PV modules and reduce yield. Use PV layout coordination and yield-estimating tools such as PVWatts to quantify impacts and to ensure drainage does not create recurring yield losses [1][2].
Q: What factory tests should I require? A: At minimum, require dimensional inspection, joint assembly verification and a water-tightness test or documented assembly procedure. For bespoke systems, require witness testing or third-party inspection on critical runs.
Conclusion
Specifying an effective solar carport drainage downpipe layout for a commercial carport project is a discipline of coordination: hydraulic performance, structural interface, PV equipment coordination, electrical pathway planning, utility and permit interface and maintenance access planning must be reconciled in a single, unambiguous procurement specification. Insist on measurable acceptance criteria, co-ordinated shop drawings and verifiable factory evidence before site work begins. Allocate clear responsibilities through the six-step buyer workflow to reduce rework and protect PV assets.
Remember: site-specific structural capacity, foundations, permits, electrical design, approvals, lead time, price, energy yield and warranty require a documented project basis and review by relevant local qualified professionals, installers, utilities and authorities. For catalogues, technical details or to discuss integrated canopy solutions, see SolarGrid commercial solar system, review all systems, or consult our sourcing guides. For project inquiries contact /inquiry or email info@carportiva.com.
Appendix — Useful public references
- Solar resource and performance tools: National Laboratory of the Rockies PV resources [1], PVWatts performance estimator [2].
- Utility coordination and interconnection: FERC interconnection resources [4].
- U.S. Department of Energy resources for alternative fuels and EV infrastructure (relevant when integrating chargers under canopies) [3].
References
- National Laboratory of the Rockies PV resources: https://www.nrel.gov/solar/
- PVWatts Calculator: https://pvwatts.nrel.gov/
- U.S. Department of Energy Alternative Fuels Data Center: https://afdc.energy.gov/
- Federal Energy Regulatory Commission interconnection resources: https://www.ferc.gov/electric-transmission/generator-interconnection
Keep the project brief connected.
Bring the actual project brief to the engineering table.
Share your location, layout, target application and available technical inputs. Carportiva can help identify the relevant product-interface information before a project-specific commercial discussion.
Request a project discussion