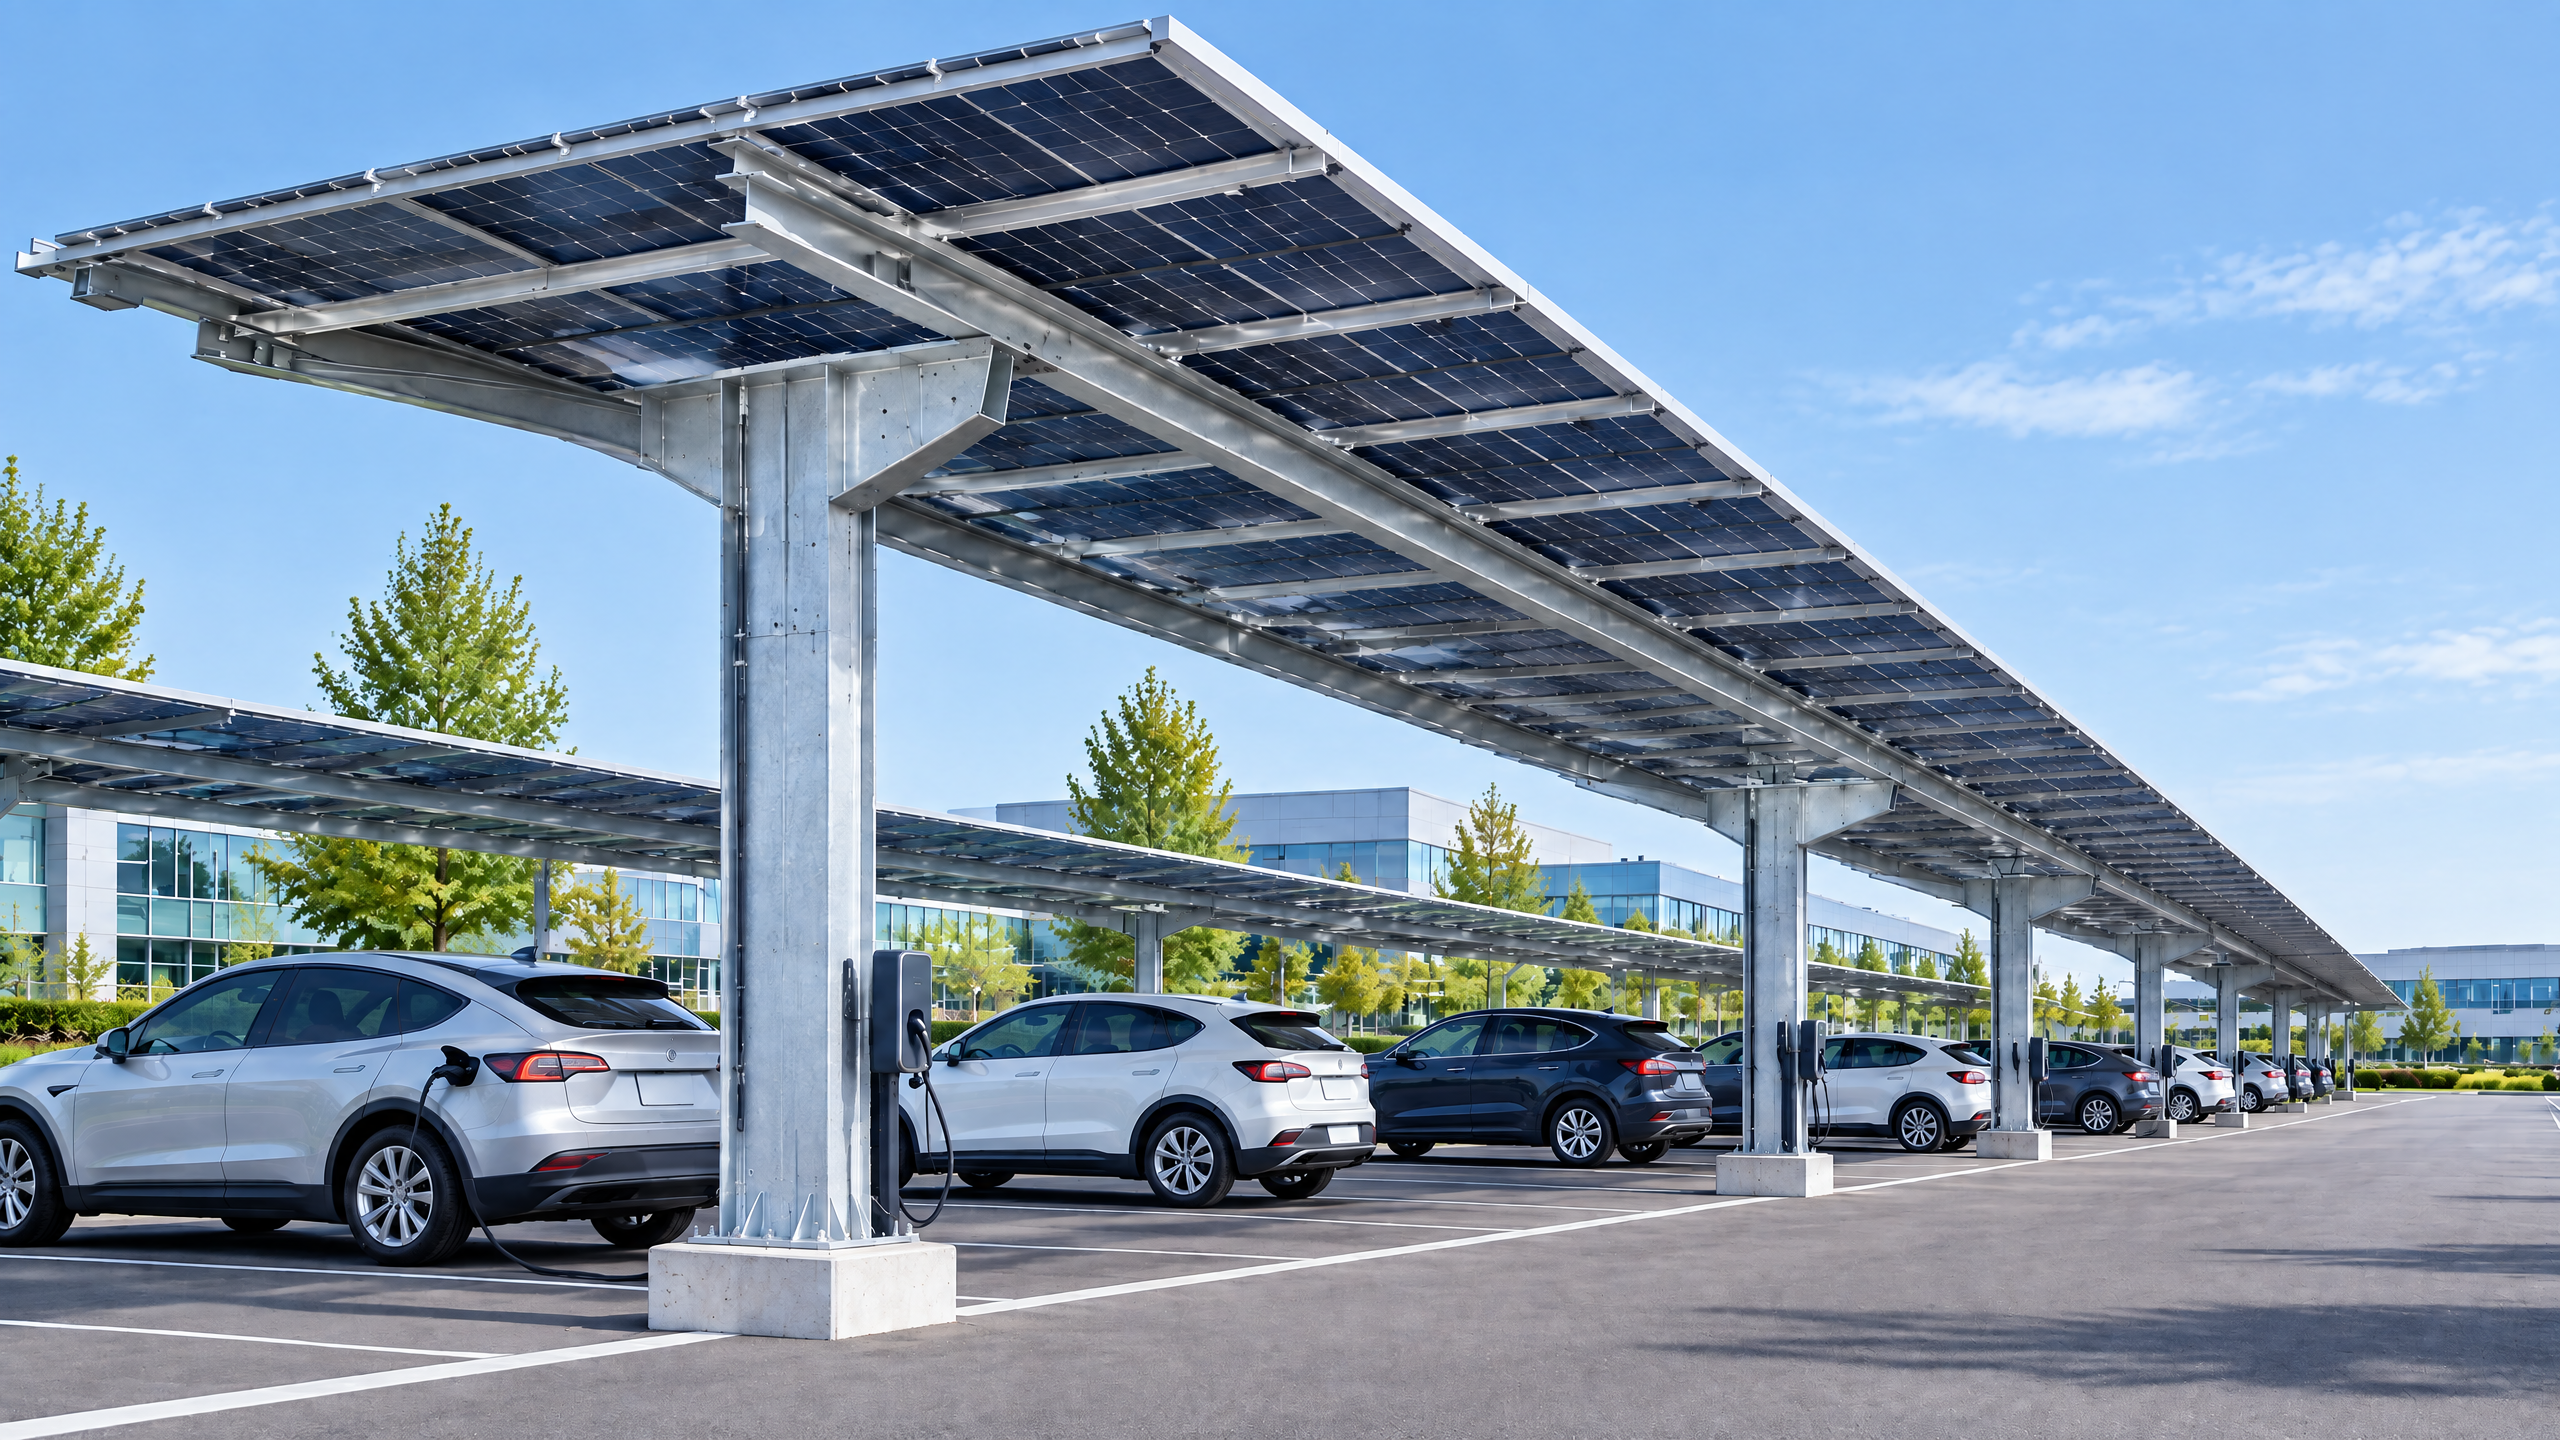
Answer: Solar carport inverter location planning is a fundamental, project-defining decision that balances electrical efficiency, structural integration, operational access, safety, permitting and cost. The ideal inverter location minimizes DC cable length and voltage drop, reduces thermal stress and fire risk, preserves circulation and maintenance access beneath and around carports, and meets local utility interconnection and building-code requirements. For many commercial carport installations this means colocating inverters under the canopy or in a nearby dedicated equipment room or fenced pad; for others it may mean distributed microinverters or inverter clusters mounted on column brackets. Each option changes structural load paths, PV equipment coordination, electrical pathway planning, and the utility and permit interface. Make the decision only with documented project inputs (site survey, electrical and structural design, interconnection study, operations plan) and the involvement of local qualified professionals — the wrong placement increases O&M cost, warranty risk and schedule exposures.
Buyer context and scope boundary
This guide is for global B2B buyers — distributors, architects, contractors, developers, solar EPCs and fleet operators — deciding where to locate inverters on commercial solar carports. It focuses specifically on solar carport inverter location planning and the procurement and implementation implications that follow.
Scope boundaries:
- Covers inverter siting relative to carport structures, electrical routes, safety and operations.
- Addresses central, string and microinverter topologies in the context of carport applications.
- Relates siting to structural interfaces, combiner/SSP layout, metering and utility interaction.
- Does not prescribe vendor-specific product selection or local regulatory requirements; those must be determined from a documented project basis and local qualified professionals.
Primary outcomes this guide supports:
- A decision that minimizes lifecycle cost and operational friction.
- A procurement specification and evidence checklist to present to suppliers and contractors.
- A six-step buyer workflow that translates assessment to purchase and installation.
Note: solar carport inverter location planning is a distinct discipline within the wider clustering of Solar, PV and EV infrastructure. This document assumes integration with other site systems (EV charging, lighting, security).
Core decision principle: trade-offs and primary drivers
At its simplest, inverter siting resolves three conflicting objectives:
- Electrical efficiency and yield (short DC runs, optimal thermal environment).
- Structural safety and constructability (load transfer, anchor points, corrosion considerations).
- Operations and safety (easy maintenance access, fire code compliance, minimal vehicle conflict).
These drivers translate into practical trade-offs:
- Locating inverters under the canopy reduces DC cable length and can simplify combiner routing, improving yield and lowering material cost. But it imposes structural interface requirements and may complicate maintenance access planning.
- Placing inverters in an off-structure equipment room or fenced pad may ease service access and meet stricter fire/ventilation codes, but increases AC/DC cable runs and potentially adds transformer and switchgear costs.
- Choosing distributed microinverters or AC-coupled optimisers influences where metering and AC distribution must terminate and how PV equipment coordination is managed.
Decision principles:
- Minimize DC run length to reduce losses and reduce DC cable cost — but verify the structural capacity and thermal environment.
- Align inverter siting with the O&M access plan and safety egress routes.
- Engage the utility and permit interface early to confirm metering, transformer, and interconnection expectations.
Where these principles conflict, quantify the operational cost implications (O&M, energy yield losses, potential warranty impacts) and weigh them against capital cost differences.
Planning inputs — what you must gather before deciding
Before selecting a location, gather documented inputs so decisions are verifiable and auditable. Use these inputs as contractual prerequisites in procurement and requests for proposal.
Essential planning inputs:
- Accurate site survey: surveyed elevations, canopy bay layouts, vehicle circulation, soffit heights, drainage and lighting plans.
- Electrical single-line diagram and load profile: existing site loads, planned EV chargers, peak load timing.
- Energy yield modelling: insolation and shading analysis for the carport layout (use PV resource tools and validated models) [1][2].
- Interconnection study / utility requirements: local export limits, distribution circuit capacity, metering and transformer requirements [4][3].
- Structural capacity and geotechnical data: column foundations, wind and seismic load design inputs, corrosion environment and coating specifications.
- Fire and life-safety code requirements: egress, clearances, fire service access and local AHJ guidance.
- Maintenance and operations plan: routine service access, replacement philosophy (onsite spares or offsite), and asset monitoring approach.
- Procurement timeline: required lead times and supply-chain constraints for inverters, switchgear and transformers.
- Budget envelope for CapEx and estimated OpEx including planned maintenance intervals.
Throughout, flag any constraints that would disqualify a location option (e.g., canopy design cannot accept concentrated equipment loads without reinforcement; local code forbids electrical equipment within vehicle overhang zones).
Technical specification and structural interfaces
This section translates planning inputs into technical considerations and interface points. The choices below directly influence the "solar carport structural interface" and how you will perform "PV equipment coordination" and "electrical pathway planning".
Key technical considerations:
- Inverter technology and thermal performance:
- Central/utility inverters (or large string inverters) concentrate DC inputs and produce significant heat; require ventilation, clearance and mounting arrangements.
- String inverters are smaller but still need ventilation and access.
- Microinverters negate long DC runs but distribute AC cabling and imply a different metering and O&M regime.
- Mounting and structural interface:
- Surface-mounting to canopy beams or columns changes structural loadings. Provide manufacturer load-transfer drawings and connection details.
- Consider vibration isolation, anti-corrosion treatments and service access ranges (reachability from ground or with safe platform).
- Verify that canopy anchor points are sized for inverter weight plus dynamic loads and comply with local design codes.
- Combiner boxes and DC/AC disconnects:
- Locate combiner boxes to minimize DC runs from module strings.
- Place string-level protection where it's accessible but protected from vehicle impact and water ingress.
- Coordinate PV equipment coordination: the combiner, string fusing, DC isolators and inverter inputs must be arranged to facilitate maintenance and quick isolation.
- AC distribution, transformer and metering:
- Centralized inverter locations often require nearby pad-mounted transformers or indoor switchgear — this affects the utility and permit interface.
- Plan metering points early; utilities often stipulate where revenue meters must be located.
- Provide for short, well-protected AC runs to reduce electrical losses and conduit costs.
- Electrical pathway planning:
- Route cables to avoid vehicle egress/ingress, to maintain clearances, and to reduce exposure to heat and moisture.
- Use cable trays, raceways and penetration details that meet local code and corrosion expectations.
- Fire stopping and segregation of DC and AC pathways may be required.
- Earthing and lightning protection:
- Provide bonding and earthing schemes compatible with the carport structure and inverter manufacturer's recommendations.
- Lightning protection and surge protection devices must be coordinated with the inverter location to avoid equipment damage.
Decision table — inverter location options (high-level)
| Location option | Typical application | Key advantages | Main limitations |
|---|---|---|---|
| Under-canopy/on-column mounting | When canopy structure has capacity and O&M access is limited | Short DC runs; compact layout; lower DC voltage drop | Requires structural reinforcement; may restrict parking clearance; possible ventilation and fire-code issues |
| Dedicated equipment room (on-site building) | Sites with existing buildings or available space | Controlled environment, secure, easier O&M | Longer DC runs if remote; potential extra conduit/trenching cost |
| Fenced pad-mounted area adjacent to carport | When site has space and security is needed | Easy access, scalable, suitable for large inverters | Additional site footprint; increased cable length; may require transformer |
| Distributed microinverters or power optimisers | High shading or simplified wiring preferences | Minimal DC runs; per-module monitoring | Higher unit count; different warranty/maintenance model; AC wiring complexity |
Use the table as a starting point; apply site specifics to score each option.
Procurement evidence and factory/QA expectations
When you issue an RFP or evaluate supplier proposals, require evidence that ties the inverter location decision to validated product and factory data. Below is a procurement checklist to include in commercial proposals, with rationale.
Decision table — procurement & factory evidence checklist
| Required evidence | Why it matters | Suggested pass criteria |
|---|---|---|
| Factory test report for the specific model | Confirms performance claims and quality control | Recent FPR showing production lot tests and temperature derating |
| Thermal derating curve for ambient and mounting conditions | Ensures inverter will not derate under canopy temperatures | Manufacturer-supplied curves with mounting conditions that match canopy environment |
| IP/Ingress and corrosion rating | Equipment exposure to moisture/corrosion must be mitigated | IP65+ for outdoors; corrosion class per ISO for coastal or industrial sites |
| Manufacturer recommended seismic/wind mounting details | Validates mechanical interface to structure | Attachment details with load cases matching project environmental data |
| EMC/EMI and grid-code compliance documentation | Required for interconnection and to limit interference | Third-party or manufacturer certification for applicable grid codes |
| Warranty terms and service exclusions | Affects lifecycle cost and risk | Clear statement of warranty coverage, exclusions for environmental exposure and unauthorized installation |
| Spare parts and lead-time commitments | Impacts O&M response time and procurement planning | Lead times for critical spares; supply-chain mitigation plan |
| FAT/inspection and third-party witness options | Allows buyer to validate quality before shipping | Option for witnessed Factory Acceptance Test (FAT) or detailed FAT report |
| Site-specific installation and commissioning plan | Ensures the supplier aligns with site constraints | Detailed plan showing mounting, conduit entry, ventilation and access sequences |
Procurement notes:
- Include product mounting templates and cut-sheets in RFP responses so structural engineers can confirm load impacts early.
- Specify acceptance tests for commissioning that reflect site mounting conditions (e.g., thermal performance under canopy).
- In commercial solar procurement, require a named service level for warranty response and an escalation path.
Remember: product documentation from the factory is necessary but not sufficient. Combine factory evidence with a site-specific installation plan and installer competency verification.
Site installation, operations and maintenance access
Installation and operations decisions follow location selection closely. Good planning here mitigates the most common lifecycle costs and safety incidents.
Installation key points:
- Sequence installations to protect PV modules and inverters from construction damage. Install structural shells and foundations, then raceways and inverters, then PV modules as late in the schedule as practical.
- Use temporary power and safe isolation procedures when commissioning string bundles.
- Avoid running DC cables in the same conduit as AC where codes require separation; provide marking and labeling consistent with the single-line diagram.
Maintenance access planning:
- Define who will perform routine and corrective maintenance and what tools/platforms they will require.
- Plan for safe access: ground-level reach, or integrated catwalks and platforms where elevated equipment is necessary.
- Ensure clearances meet manufacturer service access needs, and that routeways are free from vehicle traffic during service.
Operational monitoring and O&M:
- Fit inverters with remote telemetry supporting typical fleet or enterprise monitoring stacks. Consider vendor compatibility with site SCADA or fleet asset management systems.
- Define firmware management and security update policies. Inverter firmware updates can affect performance and warranty.
Mid-article action: If you would like a site-specific review of inverter siting options for a commercial carport, begin a technical dialogue — submit project details and drawings through /inquiry or by emailing info@carportiva.com. For product options consider SolarGrid commercial solar system; explore more all systems and procurement resources in our sourcing guides.
Implementation risk — common failure modes and mitigations
Choosing an inverter location without quantified risk assessment invites delays, cost creep and warranty disputes. Below are common risks and mitigations.
Risk: Excessive DC cable length or improper routing
- Consequence: Increased system losses, higher material costs, potential voltage limits on inverter inputs.
- Mitigation: Model voltage drop using conservative module Isc and Voc; prefer shorter DC runs or distributed inverter topologies.
Risk: Inverter overheating under canopies
- Consequence: Thermal derating, nuisance trips, shortened life.
- Mitigation: Use manufacturer thermal derating data, provide ventilation or forced-air if necessary, or select outdoor-rated enclosures with higher thermal capacity.
Risk: Structural overloading or incorrect interface
- Consequence: Delays and expensive retrofits; increased liability.
- Mitigation: Provide structural calculations and connection details in RFP; require supplier mounting templates and third-party structural sign-off.
Risk: Fire and life-safety clearance violations
- Consequence: AHJ rejection, required rework.
- Mitigation: Engage the authority having jurisdiction early and confirm clearances and egress; design inverter placement outside fire-service pathways where required.
Risk: Utility interconnection delays
- Consequence: Project schedule slips; penalty costs.
- Mitigation: Early utility engagement and submission of interconnection data; confirm metering and transformer requirements and align site layout accordingly [4].
Risk: Theft or vandalism
- Consequence: Equipment loss and downtime.
- Mitigation: Enclosures, lockable cabinets, fenced pads, integration into site security and CCTV.
Risk: Warranty disputes linked to environmental exposure
- Consequence: Failed warranty claims.
- Mitigation: Follow manufacturer installation instructions exactly; retain commissioning records and environmental exposure data.
Risk: Supply-chain and lead-time constraints
- Consequence: Project hold-ups or forced product substitutions.
- Mitigation: Include lead-time commitments and vendor backup options in procurement contracts; require shipment schedules and FAT dates.
Always document mitigation measures in the project execution plan and require the installing contractor to verify assumptions on-site before purchase.
Six-step buyer workflow — from decision to commission
This named workflow is designed to convert a planning decision into a provable procurement and installation sequence for commercial solar projects.
Step 1 — Define project baseline
- Deliverables: Scope, site survey, single-line diagram, canopy layout, load profile, geotech.
- Action: Issue an internal baseline package and lock the decision review board timeline.
Step 2 — Preliminary siting options and scoring
- Deliverables: Option matrix that scores places under-canopy, fenced pads, equipment rooms and distributed topologies against electrical losses, structural impact, O&M access and permitting.
- Action: Use conservative electrical loss models (e.g., PVWatts as an external reference) to inform yield impacts [2].
Step 3 — Technical verification and coordination
- Deliverables: Structural calculations, inverter mounting templates, combiner and conduit routing, utility interconnection checklist.
- Action: Coordinate PV equipment coordination meetings (structural, electrical, civil and utilities).
Step 4 — Procurement with evidence requirements
- Deliverables: RFP with procurement & factory evidence checklist (see table earlier), lead-time commitments, FAT witness options.
- Action: Evaluate proposals against pass criteria and scorecards; include warranty and service level scoring.
Step 5 — Installation sequencing and commissioning
- Deliverables: Installation plan, cable routing diagrams, commissioning test plan and acceptance criteria.
- Action: Execute installation, perform pre-commissioning insulation and polarity checks, execute commissioning tests and produce as-built documents.
Step 6 — Handover and O&M
- Deliverables: O&M manual, spare parts list, telemetry credentials, warranty certificates and maintenance schedule.
- Action: Formal handover to operations, schedule first-year maintenance and record performance baselines.
Each step requires sign-off by appropriate stakeholders (engineer, structural lead, procurement and operations). Maintain a change-log for any post-award design changes that affect inverter location, as these have high rework costs.
Frequently asked questions (FAQ)
Q: Why is DC cable length so important in inverter siting? A: Longer DC runs increase resistive losses and can push systems toward higher conductor and combiner costs. They also influence voltage rise and inverter MPPT behaviour; reducing DC length generally improves yield and reduces CapEx on conductors.
Q: Can I mount inverters directly to the carport canopy? A: Yes, but only when the canopy structure is designed or verified to accept the concentrated weight and dynamic loads of the inverter plus maintenance access. Provide manufacturer mounting templates and obtain structural engineer sign-off.
Q: Are microinverters a simple way to remove DC safety risks? A: Microinverters reduce high-voltage DC on site by converting DC to AC at module level, but they increase the number of serviceable units and can shift warranty and replacement risk. They also change PV equipment coordination and monitoring approaches.
Q: How do utilities influence inverter location? A: Utilities may require specific metering locations, transformer placement or limitations on export points. Early utility engagement prevents late changes that can invalidate location choices [4].
Q: What are typical ventilation requirements? A: Ventilation varies by model and mounting; consult manufacturer thermal derating curves. Some installers use passive ventilation; others require forced-air or additional clearance to maintain expected performance.
Q: Should inverters be secured from vehicle impact? A: Yes — route equipment away from direct vehicle lanes or protect with bollards, fencing or elevation. Ensure protective measures are considered in procurement and site works.
Q: What documentation should I keep for warranty claims? A: Keep installation photos, commissioning test reports, serial numbers, as-built drawings, and evidence that installation followed manufacturer instructions. Many manufacturers require documented commissioning to validate warranty.
Q: Who is responsible for final approval to energize? A: This is project-specific but usually involves the licensed electrical contractor, the project engineer, and the utility (for grid-connected systems). Obtain all necessary sign-offs and keep documentation for the AHJ and utility.
Q: How do I predict yield impacts from inverter location? A: Use a PV model (e.g., PVWatts or more detailed simulation) with canopy layout and expected system losses. Model different DC/AC run lengths and thermal derating scenarios to compare outcomes [1][2].
Q: Can inverter location affect insurance or financing? A: Yes — insurers and financiers evaluate operational risk, security and compliance. A proven location that meets codes and has a documented O&M plan is favoured.
Required professional verifications and legal note
Site-specific structural capacity, foundations, permits, electrical design, approvals, lead time, price, energy yield and warranty require a documented project basis and relevant local qualified professionals, installers, utilities and authorities.
This means: before committing to purchase or installation, obtain structural attestations, geotechnical reports, utility interconnection confirmation, and AHJ approvals. Use licensed local electricians for electrical works and verify installer competency and product commissioning by authorised technicians.
Conclusion
Solar carport inverter location planning is a strategic choice that shapes CapEx, OpEx, schedule and safety for commercial solar carport projects. Treat inverter siting as a cross-disciplinary decision: it touches structural engineering, electrical design, utility interconnection, permitting and operations. Use structured data — site surveys, energy modelling, structural templates and factory QA — to make a defensible choice and include procurement clauses that enforce evidence and lead-time commitments. Follow the six-step buyer workflow to convert decision into delivery, and document every assumption that could affect warranty or interconnection.
For tailored project support or to discuss how inverter siting integrates with Carportiva’s architectural aluminium carports and commercial shelters, contact our technical team via /inquiry or info@carportiva.com. Explore product options including the SolarGrid commercial solar system and learn more about our all systems and sourcing guides.
Further reading and tools
- NREL solar resources and guides for resource assessment and PV design [1].
- PVWatts for quick energy-yield modelling and scenario comparison [2].
- U.S. DOE AFDC for charging and grid-integration considerations when combining EV loads and PV [3].
- FERC and regional interconnection resources for process and policy context [4].
References
- National Laboratory of the Rockies PV resources: https://www.nrel.gov/solar/
- PVWatts Calculator: https://pvwatts.nrel.gov/
- U.S. Department of Energy Alternative Fuels Data Center: https://afdc.energy.gov/
- Federal Energy Regulatory Commission interconnection resources: https://www.ferc.gov/electric-transmission/generator-interconnection
Keep the project brief connected.
Bring the actual project brief to the engineering table.
Share your location, layout, target application and available technical inputs. Carportiva can help identify the relevant product-interface information before a project-specific commercial discussion.
Request a project discussion