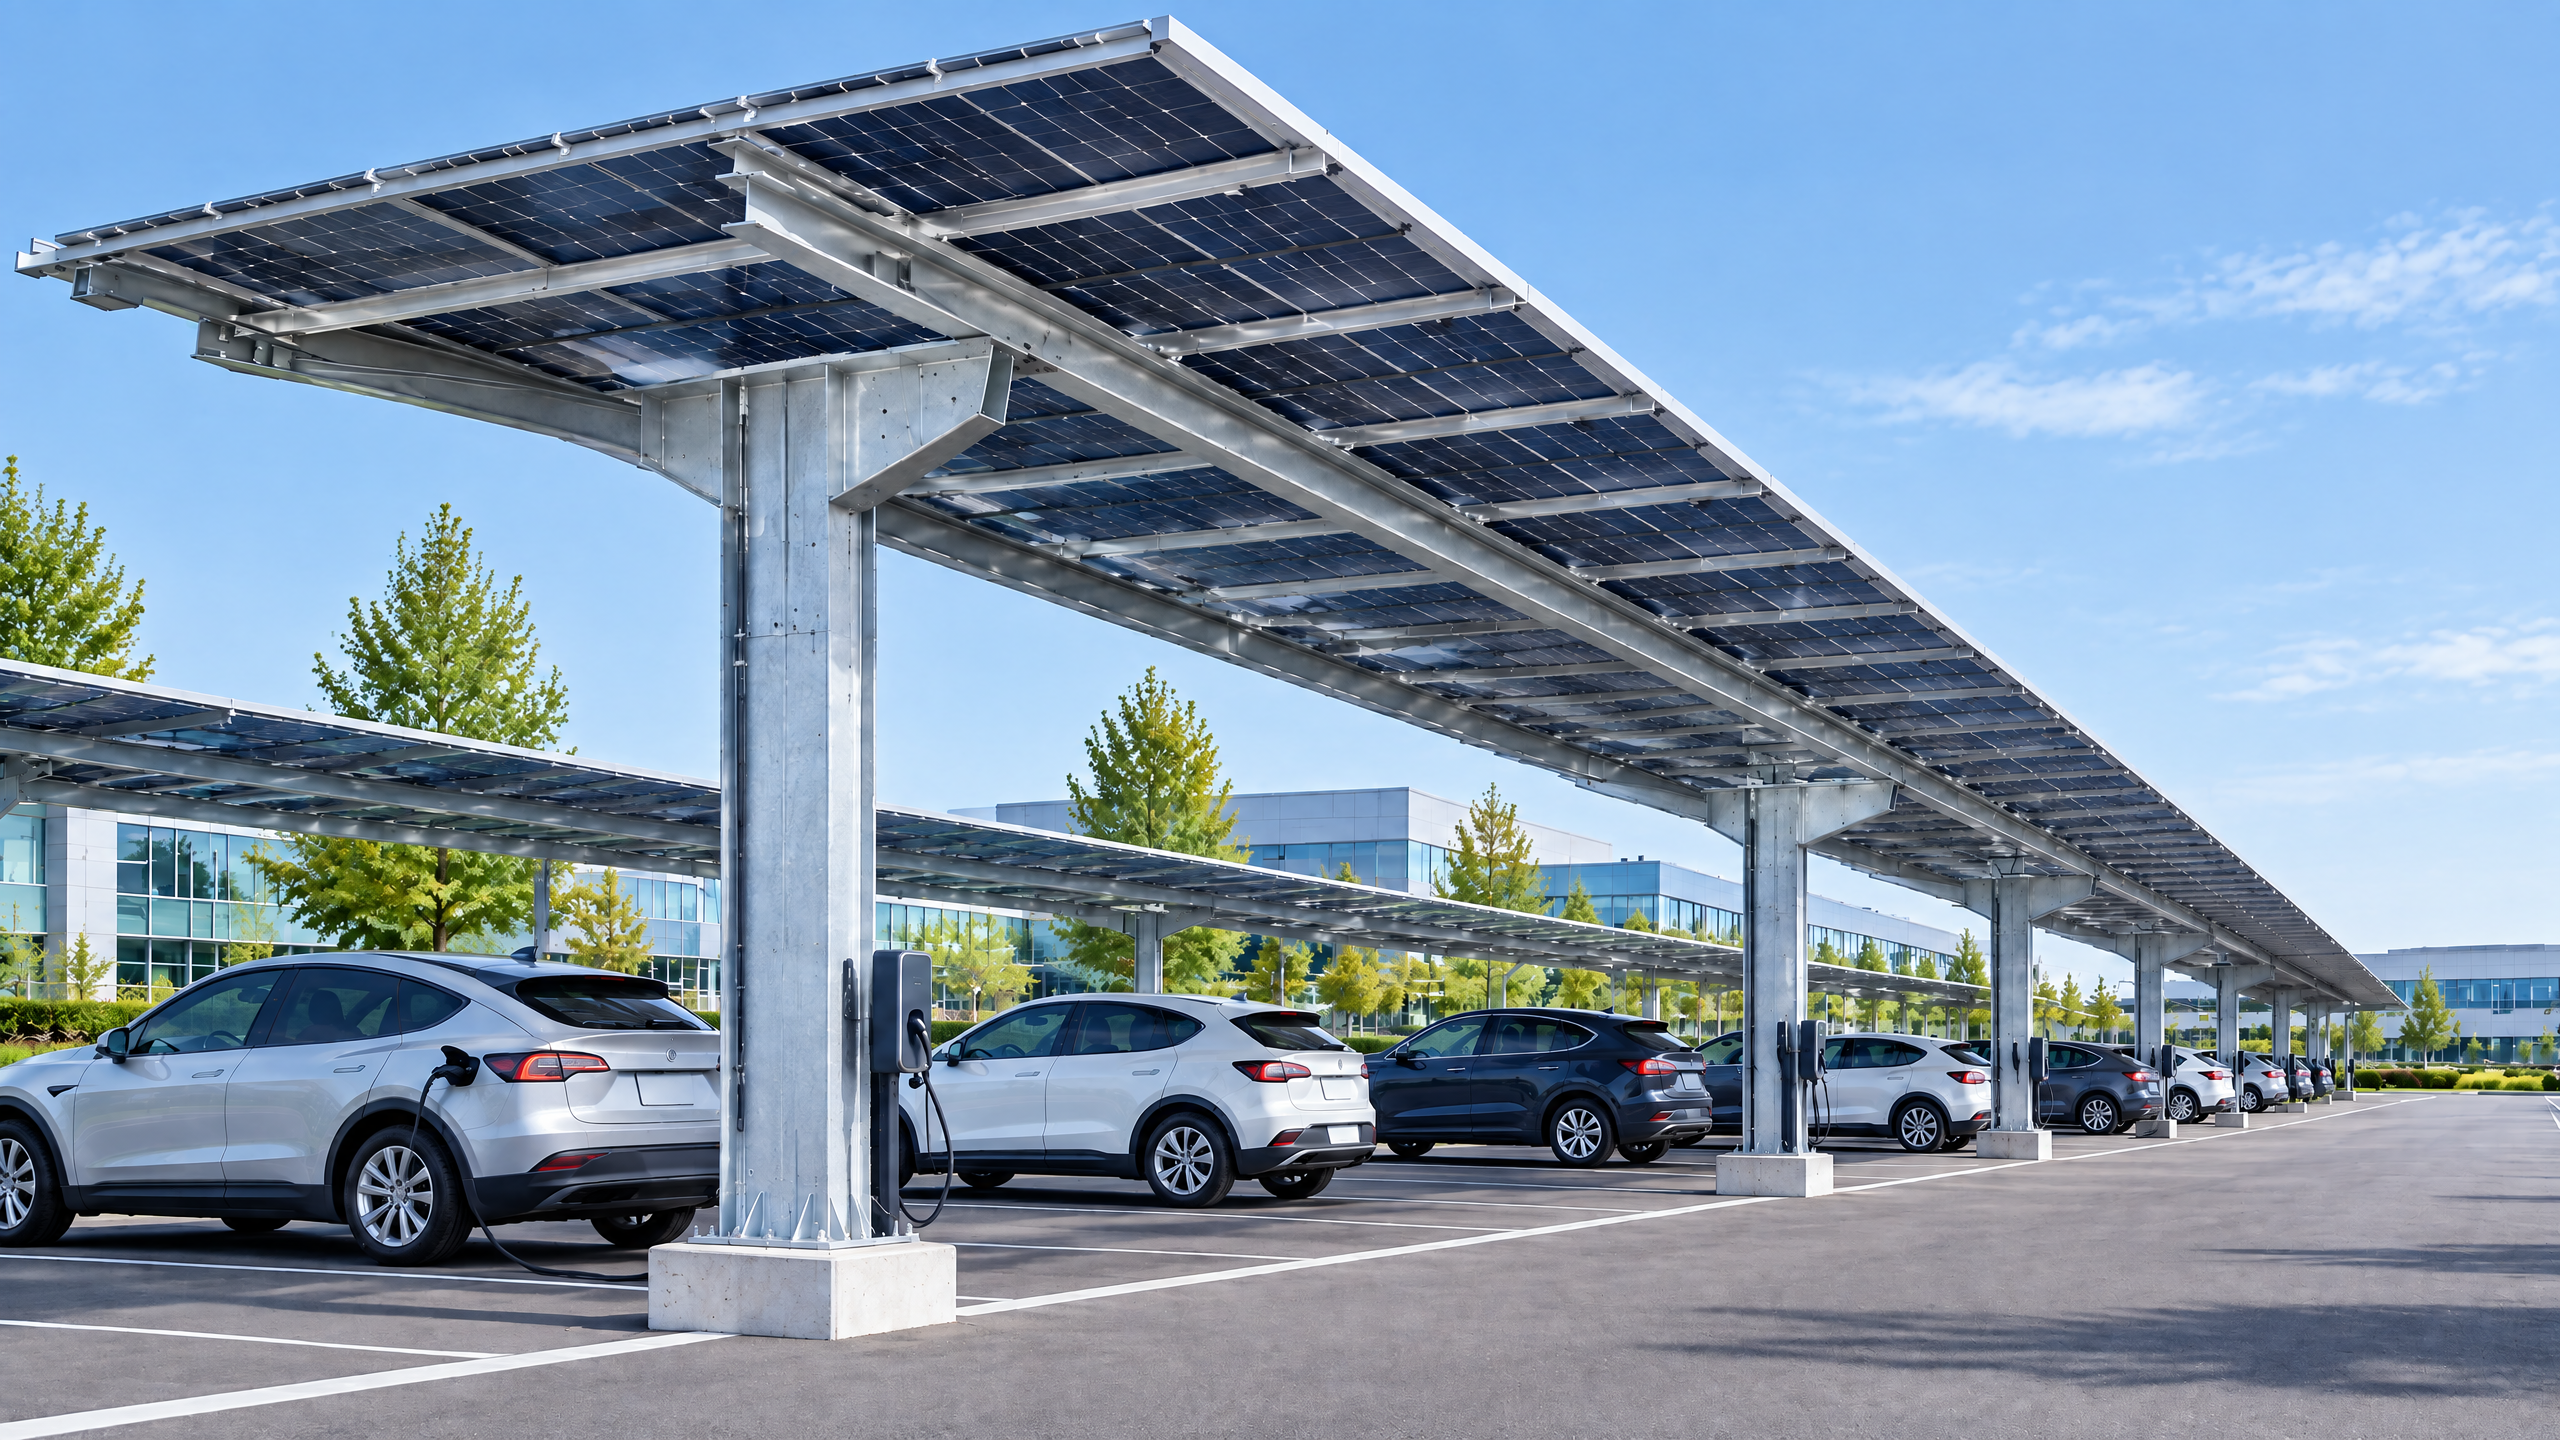
Direct answer (140 words) Solar carport racking clamp selection matters at every stage where modules meet structure: from conceptual scope and structural engineering through procurement, installation and long-term operations. The clamp type, material and interface detail determine module compatibility, load paths for wind and snow, electrical bonding, corrosion interactions, installation tolerance and maintenance access. In commercial solar procurement the clamp choice is not a cosmetic item — it influences structural calculations, PV equipment coordination, warranty interfaces, availability and site labour time. Specify clamp families early, validate them in the structural model and include factory evidence and installation procedures in procurement documents. For projects integrating EV charging, grid interconnection or bespoke canopies, align clamp choices with electrical pathway planning, service routing and maintenance access planning. Site-specific structural capacity, foundations, permits, electrical design, approvals, lead time, price, energy yield and warranty require a documented project basis and relevant local qualified professionals, installers, utilities and authorities.
Buyer context and scope boundary: why clamps are more than fasteners
For many B2B buyers — distributors, architects, contractors, developers, solar EPCs and fleet operators — racking clamps appear to be a minor hardware choice. In carports they do more than fix modules to rails or beams: they create the solar carport structural interface that transfers environmental loads from modules into the canopy, they define the electrical bonding route between modules and structure, and they determine how modules can be removed or replaced during service. A clamp mismatch can cause rework, delayed commissioning or compromised warranty claims.
Scope boundaries for this guide:
- Primary subject: solar carport racking clamp selection and its project, procurement and implementation implications.
- Secondary interfaces discussed: module frames and glass, rails and beams, electrical components and pathways, maintenance and permit processes.
- Excluded: detailed structural design methods and local regulatory rules, which must be handled by local licensed engineers and authorities.
Commercial solar procurement requires early, engineering-led decisions about clamp families and documented acceptance criteria. This guide is evidence-led, practical and aimed at procurement decision-makers who must translate technical options into procurement requirements and risk controls.
Core decision principle: load path, compatibility and lifecycle cost
The core principle for solar carport racking clamp selection is simple: choose the clamp that most reliably and economically creates the required load path and functional interfaces across the asset life-cycle. Evaluate clamps against three interdependent axes:
- Structural performance: acceptance by the structural engineer for uplift, lateral and gravity loads when combined with canopy members.
- Mechanical and environmental compatibility: module frame type, material pairings (to control galvanic corrosion), tolerances and thermal movement.
- Operational impact and lifecycle cost: installation time, risk of module damage, maintenance access, spares strategy and interface to warranties.
When these axes are satisfied in project-specific analysis, clamp selection becomes a controllable, auditable procurement decision rather than a source of downstream change orders.
Planning inputs: what data you must collect before specifying clamps
Before specifying clamp families in procurement documents, collect this minimum dataset and document it for procurement, engineering and approvals:
- Module specification: frame profile (top/bottom rails, clamping slot geometry), thickness, bonded frame dimensions and any anti-slip coatings.
- Module type: framed, frame-less, thin-film or glass-glass, including manufacturer installation guidelines.
- Canopy and rail geometry: rail spacing, rail profile, beam span, canopy camber and expected construction tolerances.
- Environmental loads: site wind speed, exposure category, snow or ice loading, seismic basis for design and local code references.
- Corrosion environment: coastal, industrial, or rural; salt spray and airborne contaminants.
- Electrical design: earthing/grounding philosophy, bonding points, module string layout and combiner/junction box locations.
- Maintenance plan: aisle widths, module replacement strategy (side or end access), cleaning schedule and EV charger access.
- Project timelines and lead times: procurement windows, long-lead items and staging requirements.
- Commissioning and warranty interface requirements: manufacturer installation torque/sequence, evidence required for warranty claims.
Accurate input data is essential; incomplete inputs are the most frequent source of clamp-related change orders.
Technical specification and interfaces
This section explains the technical attributes of clamps and how they relate to the solar carport structural interface, PV equipment coordination and electrical pathway planning.
Clamp families and interface methods
- Mid-clamps vs end-clamps: mid-clamps secure adjacent modules on the same rail span, while end-clamps secure the module edge to the rail or beam. Both must be compatible with module frame geometry and rail flange dimensions.
- Rail-mounted clamps vs beam-mounted clamps: rail-mounted systems use rails to distribute loads; beam-mounted systems may clamp modules directly to primary beams or to custom adapters. Beam-mounted options can reduce rail material but require precise structural analysis.
- Slot/foot clamps vs through-bolt: slot clamps capture an extruded rail slot and usually allow sliding adjustment; through-bolt solutions require pre-drilled holes and provide positive mechanical engagement.
- Frame-to-frame clamps for frameless modules: these use clamping pads or compression clamps designed for glass-glass modules and must distribute loads without concentrating stress on glass edges.
Avoid specifying clamps without referencing the profile drawings of both the module frame and the mounting rail or beam. The solar carport structural interface is a three-dimensional problem: clamp geometry, contact area and bolt path must be modelled in the structural analysis.
Materials and corrosion management
Material selection for clamps must consider galvanic compatibility with module frames (often anodized aluminium), rails, and structural steel. Typical options:
- Aluminium alloys: lightweight and galvanically compatible with anodized aluminium frames; consider hard-anodized finishes and appropriate tensile strength.
- Stainless steel fasteners: often used with aluminium clamps but require isolation washers or coatings to prevent galvanic attack between dissimilar metals.
- Coatings and passivation: polymer coatings, anodising and proprietary corrosion protections must be specified and evidenced in procurement packs.
Document the corrosivity category of the site and require material certificates or manufacturer corrosion data in procurement.
Electrical bonding and earthing
Clamps frequently form part of the electrical bonding path between modules and structure. Clarify the following:
- Is the clamp intended to carry DC grounding current or only provide potential equalization?
- Is a dedicated bonding clip or washer required to ensure low-resistance contact under paint or anodised surfaces?
- Where does bonding connect to the carport backbone earthing system?
Include grounding resistance and continuity requirements in specification language and require manufacturer or lab evidence where bonding is relied upon for safety.
Tolerances and thermal movement
Carport structures experience thermal expansion across long spans. Clamps that rigidly lock module position can cause stress when thermal expansion is significant. Specify whether clamps are fixed or sliding (allowing in-plane movement) and define the expected movement allowance.
Module edge load and glass safety
Clamp pressure must not induce point loads on glass or frame that could produce micro-cracks. Require clamp designs that distribute load through pads or springs where frames are thin or modules are frameless.
Interface with PV equipment and electrical pathway planning
When planning PV equipment layout, include clamp choices because they influence:
- Location of junction boxes and string routing spaces between module and rail.
- Space available for mid-row wiring, fuses and micro-inverter brackets (if used).
- Cable tray and conduit routes — clamp families that sit high on the module frame may reduce clearance for cable management.
Coordinate clamp selection with the PV equipment list and electrical pathway planning to avoid retrofits that increase labour time or require conduit reroute.
Procurement and factory evidence: what to require in contracts and purchase orders
Procurement must convert technical decisions into unambiguous contract deliverables. Use the following procurement evidence checklist to reduce risk.
Decision table: Minimum procurement evidence for clamp acceptance
| Evidence type | Purpose | Buyer action |
|---|---|---|
| Detailed clamp drawings with dimensions and materials | Verify fit with module and rail drawings | Require stamped drawings with revision control |
| Material certificates (EN/ASTM equivalents) | Corrosion and mechanical assurance | Require certified mill test reports |
| Assembly and torque procedures | Ensure correct installation and warranty retention | Include in installation manual and QA checklist |
| Sample parts for fit-check | On high-risk projects, confirm fit before mass production | Require pre-shipment samples and approval sign-off |
| Manufacturer quality certificates and traceability | Production consistency and recalls | Request factory quality system evidence |
| Corrosion and environmental exposure data | Verify suitability for site corrosivity | Ask for environmental compatibility statements |
| Product warranty terms | Define remedies and limits | Require clear warranty language tied to installation compliance |
Additionally, include acceptance tests: dimensional checks on representative samples, functional tests for sliding clamps, and evidence that components interlock without interfering with cable trays or PV modules' junction boxes.
Procurement clauses to include:
- Approved clamp families and drawings referenced by part numbers
- Requirement for sample approval for non-standard clamps
- Factory packaging and labelling requirements for site handling
- Spare parts kit and identification of long-lead items
- Requirement to provide installation training or supervised first-install
Decision table: Clauses to manage lifecycle risk
| Clause | Why it matters | Draft text intent |
|---|---|---|
| Fit-for-purpose declaration | Ensures supplier confirms compatibility | Supplier confirms clamp matches provided module and rail drawings |
| Traceability | Enables root-cause analysis if failures occur | Supplier provides batch/lot numbers and MTRs for each delivery |
| Installation evidence | Protects warranty validity | Installer to provide torque logs and photographic evidence of first and final installations |
| Replacement lead time guarantee | Avoids long downtimes for failed clamps | Supplier commits to replacement delivery time for spares |
| Non-conformance & remediation | Defines how to handle defects | Supplier bears cost of corrective action for non-conforming clamps |
Require the supplier to provide a Bill of Materials (BOM) with clear part numbers, and to mark parts at manufacture or packaging to preserve traceability through logistics and installation.
Site installation and operations: making clamp selection operable
Clamp selection must consider site realities. An optimal clamp on paper can be impractical if it increases installation time or requires custom tools.
Key installation considerations:
- Tooling: identify whether clamps require special sockets, torque wrenches or cams. Require suppliers to include torque and sequence charts and to supply calibration certificates when requested.
- Access and ergonomics: ensure clamps can be installed from the walkway level or consider scaffolds/lifts. Clamps that need overhead torqueing will extend hourly labour.
- Pre-assembly options: some clamp assemblies can be factory- or shop-assembled to reduce site labour — evaluate shop-assembly cost vs shipping/handling complexity.
- Module replacement: confirm that clamps permit safe removal and reinstallation without disturbing adjacent modules or damaging frames.
- Dust and water ingress: choose clamps that do not compromise module sealing or introduce water traps over junction box areas.
Operational planning must include maintenance access planning. Define clear module replacement SWI (safe work instruction) that references clamp removal torque, anti-rotation devices and required PPE.
Linking to PV equipment coordination: the installation sequence must align with combiner box and inverter installation to avoid rework. Coordinate with electrical teams for cable routing and service loops.
Practical on-site QA steps:
- Pre-install dimensional check of clamp fit to sample modules and rails.
- Torque checks on a sample percent of fasteners per day with calibration evidence.
- Photographic log of critical bolted connections.
- Continuity and bonding resistance tests at tabulated intervals if clamps form the bonding path.
Implementation risks and mitigation
This section lists common implementation risks related to clamp selection and practical mitigations.
Risk: Clamp incompatibility with module frame profile
- Consequence: inability to install, delays and expedited reorders.
- Mitigation: early fit-check with sample parts, require supplier sample approvals and include clear drawing references in POs.
Risk: Galvanic corrosion between dissimilar metals
- Consequence: accelerated deterioration and potential structural weakening.
- Mitigation: specify material combinations and isolation measures; require material certificates and corrosion compatibility statements.
Risk: Clamp-induced module damage
- Consequence: micro-cracking, reduced performance, warranty disputes.
- Mitigation: require clamp pads or load-spreading designs; require installation torque procedures and training.
Risk: Electrical discontinuity or insufficient bonding
- Consequence: safety hazards, non-compliance with electrical code.
- Mitigation: require bonding-specific clamps or bonding washers; include bonding continuity tests in commissioning.
Risk: Increased installation hours due to complex clamp designs
- Consequence: cost overrun and schedule slippage.
- Mitigation: consider shop pre-assembly, require installation time estimates in tender responses, and choose simpler clamp families where appropriate.
Risk: Supply chain lead time and single-source risk
- Mitigation: qualify multiple clamp suppliers or require supplier to maintain local stock; specify spares and guaranteed replacement lead times.
Risk: Warranty disputes due to installation variance
- Mitigation: include clear installation acceptance criteria, require installer certifications and documented evidence of proper installation (torque logs, photos).
In each case, the buyer should convert mitigations into contract requirements and acceptance criteria.
Six-step buyer workflow: the CLAMP workflow
Name: CLAMP — a six-step procurement and implementation workflow to make clamp selection a controlled process.
- Capture project inputs (Scope & Data)
- Collect module drawings, canopy geometry, environmental data and maintenance plan.
- Validate PV equipment coordination and electrical pathway planning with the design team.
- Lock structural interfaces (Engineered Acceptance)
- Have the structural engineer confirm the chosen clamp family or pattern in structural calculations and drawings. Ensure clamps are shown in the structural model as load-transferring elements.
- Author procurement specification (Specification & Tender)
- Convert clamp families and acceptance evidence checklist into tender clauses. Include sample approval, MTRs and installation manuals as contract deliverables.
- Measure factory compliance (Factory QA & Evidence)
- Review supplier drawings, material certificates and sample parts. Perform factory acceptance checks if warranted and obtain packing/traceability protocols.
- Assemble and install with QA (Site Execution)
- Use calibrated tools, follow torque sequences and conduct daily QA (photographic and torque logs). Confirm electrical bonding continuity and document results.
- Post-install documentation and warranty handover (Commission & Transfer)
- Collect all installation evidence, spares delivered, as-built drawings showing clamp locations, and supplier warranty statements linked to installation compliance. Close any punch-list items before final payments.
This workflow standardizes decision points where clamp selection matters and ties procurement and engineering together.
PV equipment coordination, electrical pathway planning and utility and permit interface
Clamps interact with the broader PV system beyond mechanical connection.
- PV equipment coordination: clamp height, position and rail footprint influence microinverter, optimiser and junction box mounting points. Request coordinated 3D layout from the racking supplier showing clamp positions relative to modules and electrical accessories.
- Electrical pathway planning: routing of DC cables, trunk cables and AC conduits must consider clamp footprint and space between module and rail. Ensure conduits and cable trays do not clash with clamp components and that service loops remain accessible for maintenance.
- Utility and permit interface: clamp selection can affect permit applications where structural elements or earthing systems are inspected by authorities or utilities. Changes to clamp families after permitting may trigger re-submittals. Coordinate clamp decisions before final permit submission and work with utilities on interconnection requirements; for US projects, interconnection processes and requirements can be referenced via FERC resources for policy context [4]. For energy yield estimates and system sizing that may influence structural loading (for example, added panels or inverter placement), use accepted PV modelling resources such as PVWatts and NREL guidance for expected outputs and site modelling [1][2].
Document roles and responsibilities between the design team, racking supplier and installer for electrical pathway planning, and require that the chosen clamp family does not impede required utility access or fire service pathways.
Maintenance access planning and lifecycle service
Maintenance access planning must be an explicit criterion for clamp selection:
- Module replacement frequency: projects with frequent module changes (warranty-driven replacements, fleet operators swapping EV-integrated PV modules) benefit from clamps designed for rapid release or tool-less removal.
- Cleaning and inspection: clamps should not create debris traps or obstruct cleaning robots/teams.
- Ongoing corrosion checks: define inspection intervals for clamp and fastener condition, especially in coastal or industrial environments.
- Spare parts provisioning: define and procure a spares kit containing mid-clamps, end-clamps, bolts, washers and bonding components sized to the site inventory.
Include maintenance access planning in the procurement documents and require the supplier to provide a service parts list with lead times.
Mid-article project support CTA
For project-specific guidance on clamp families, integration with canopies, and procurement templates, contact /inquiry or review our SolarGrid commercial solar system, all systems and sourcing guides for compatible racking information.
Frequently asked questions (FAQ)
Q: When should I freeze clamp selection during the procurement process? A: Freeze clamp family selection once module model, canopy geometry and environmental loads are final and the structural engineer has validated the chosen interface in the structural calculation set. If modules or canopy geometry change, reassess clamps.
Q: Can I rely on the racking supplier to choose clamps on site? A: Worst practice. The supplier should propose clamps in the design phase, but buyers must include clamp approval in procurement and require sample checks and factory evidence. Leaving clamp choice to field teams increases risk of incompatibility and warranty disputes.
Q: Do clamps need to be electrically bonded? A: Only if the bonding strategy requires them. Clarify whether clamps are part of the bonding path; if so, include bonding washers, continuity test criteria and acceptance limits in commissioning.
Q: How do I manage galvanic corrosion risk? A: Specify compatible material pairings, isolation methods (washers, coatings) and require material certificates. Account for site corrosivity in the spec.
Q: Are lighter clamps always better? A: Not necessarily. Lighter materials may have lower strength or reduced durability. Evaluate strength, fatigue behaviour, corrosion resistance and total lifecycle cost.
Q: What evidence should I demand for warranty compliance? A: Dimensional approval of samples, material certificates, factory QA evidence, installation torque logs, and photographic installation records tied to serialised part markers where possible.
Q: How are clamps relevant for EV-integrated carports? A: Clamp geometry affects where conduit and EV charger cable trays can run, and may constrain maintenance access to chargers; align clamp selection with electrical pathway planning for EVs [3].
Q: Can I standardise clamps across multiple sites? A: Standardisation reduces OPEX and spare complexity but only if site inputs (module models, wind loads and canopy types) are similar. Otherwise expect exceptions and include alternate clamps in the procurement pack.
Implementation checklist for buyers
- Confirm module and canopy drawings match.
- Require sample clamp approval for non-standard configurations.
- Require material and MTR documentation.
- Include torque and installation procedures in contract and acceptance criteria.
- Specify bonding requirements and commissioning tests.
- Procure spares and tool kits for the site.
- Verify supplier logistics and replacement lead times.
- Document maintenance access planning and service intervals.
Conclusion
Solar carport racking clamp selection is a technical and commercial decision that affects the solar carport structural interface, PV equipment coordination, electrical pathway planning and long-term operations. Treat clamp selection as a design-critical element: collect accurate inputs, have structural sign-off, require firm procurement evidence and implement a controlled installation QA regime. Doing so reduces downstream risk, supports predictable commissioning and preserves warranty entitlements.
Site-specific structural capacity, foundations, permits, electrical design, approvals, lead time, price, energy yield and warranty require a documented project basis and relevant local qualified professionals, installers, utilities and authorities.
For tailored procurement templates, clamp-fit reviews and integration services for commercial carports, contact /inquiry or email info@carportiva.com.
References
- National Laboratory of the Rockies PV resources: https://www.nrel.gov/solar/
- PVWatts Calculator: https://pvwatts.nrel.gov/
- U.S. Department of Energy Alternative Fuels Data Center: https://afdc.energy.gov/
- Federal Energy Regulatory Commission interconnection resources: https://www.ferc.gov/electric-transmission/generator-interconnection
Keep the project brief connected.
Bring the actual project brief to the engineering table.
Share your location, layout, target application and available technical inputs. Carportiva can help identify the relevant product-interface information before a project-specific commercial discussion.
Request a project discussion